The Project Hopper - Wallpapering the Basement
I am a project hopper. I start something, work on it, get distracted by some other unfinished thing, work on that for a bit, then move on again! That is just the way I work sometimes! I'll get something done 'enough' to make me happy, but not completely done sometimes. It is just the nature of my creative, ever running brain, and my movement craving body!
Our big TV went out recently. It lives in the basement. Matt brought it up to the trash and when I saw the opening, the opportunity, I had to jump on that! All other projects had to wait!
I've been thinking about how to decorate the basement, but haven't started, because, well, as I just said I have 12 other things that are currently being worked on!
I had bought the peel and stick wallpaper to put up in our mudroom. Love it, love the color, the pattern, but nixed that in 2 minutes flat as I realized all of the cutting that would have to happen in that crazy room (you can see my mudroom here). This nice flat wall would be the perfect place to try this wallpaper. AND, AND, I had to jump now, because the huge TV was out of the way!!!
The husband is afraid of wallpaper, but this stuff really does come off easily, it is removable, so there is nothing to fear!
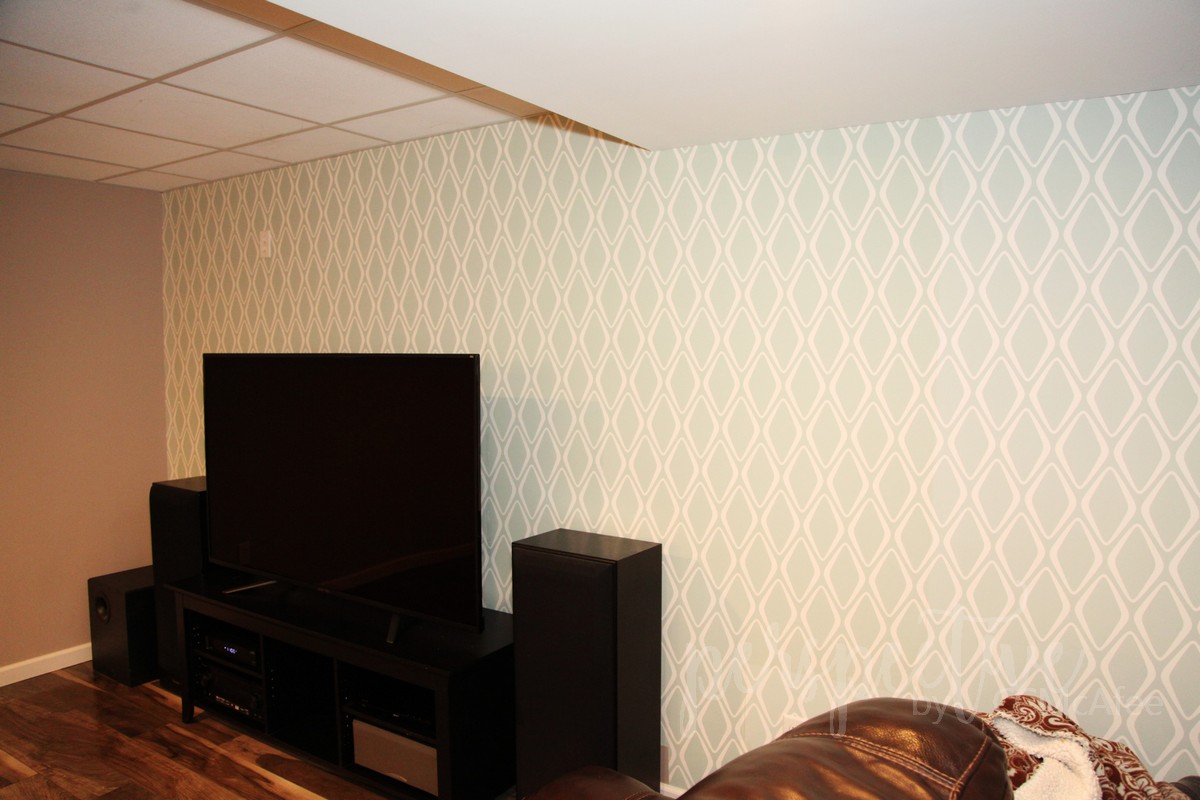
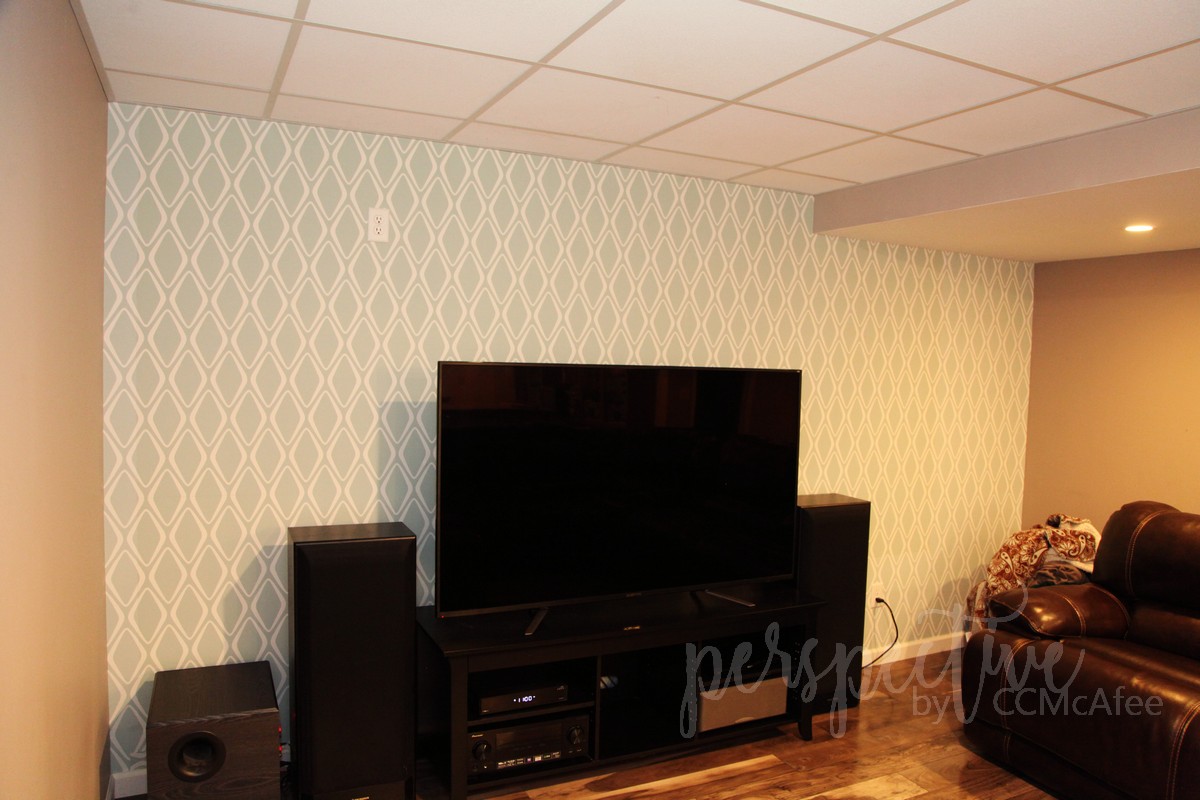
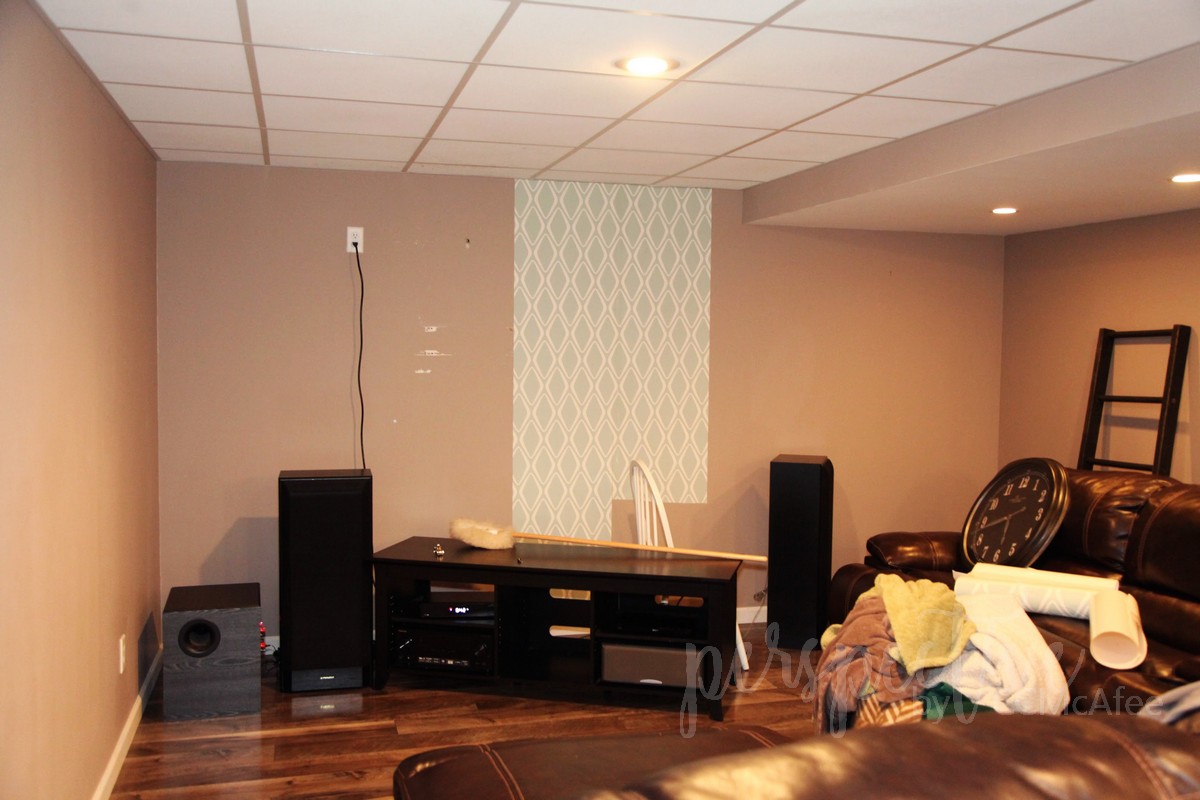
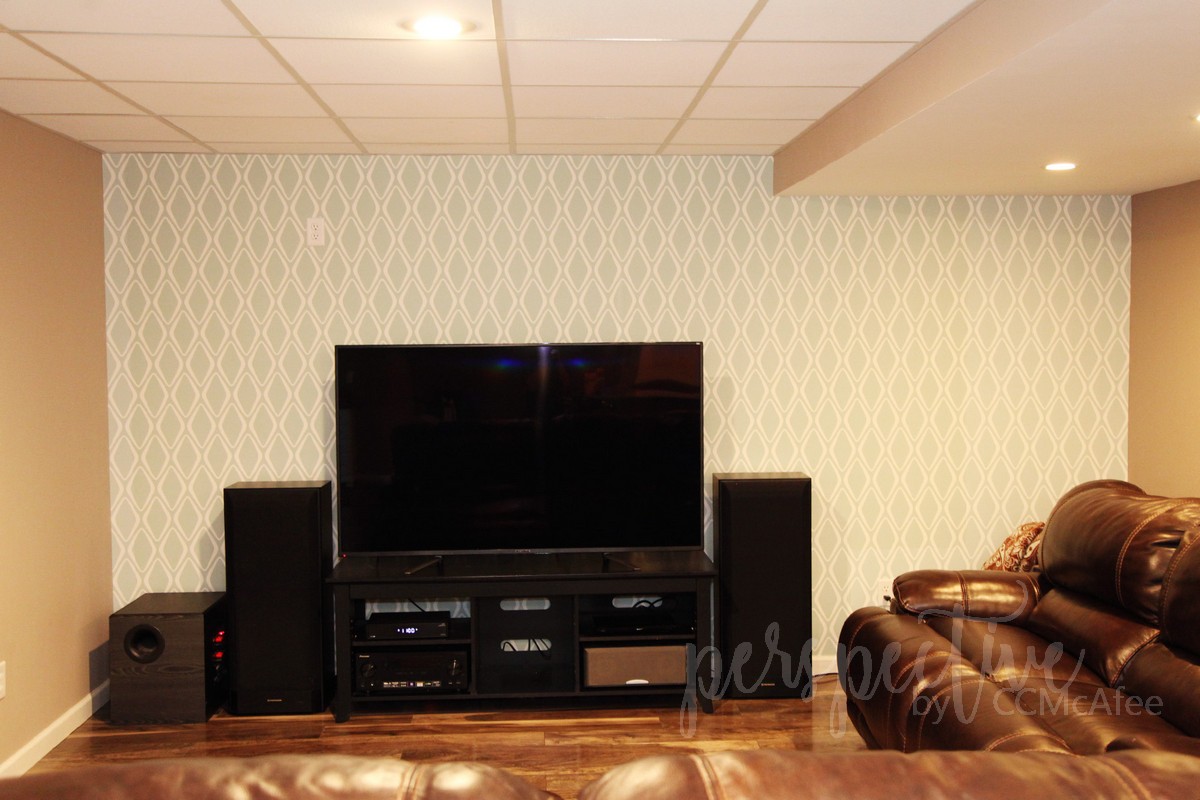
I love, love, love, the wallpaper on this wall! I can't wait to get the whole room done! Baby steps. Today I'm showing you the before and after of the wallpaper.
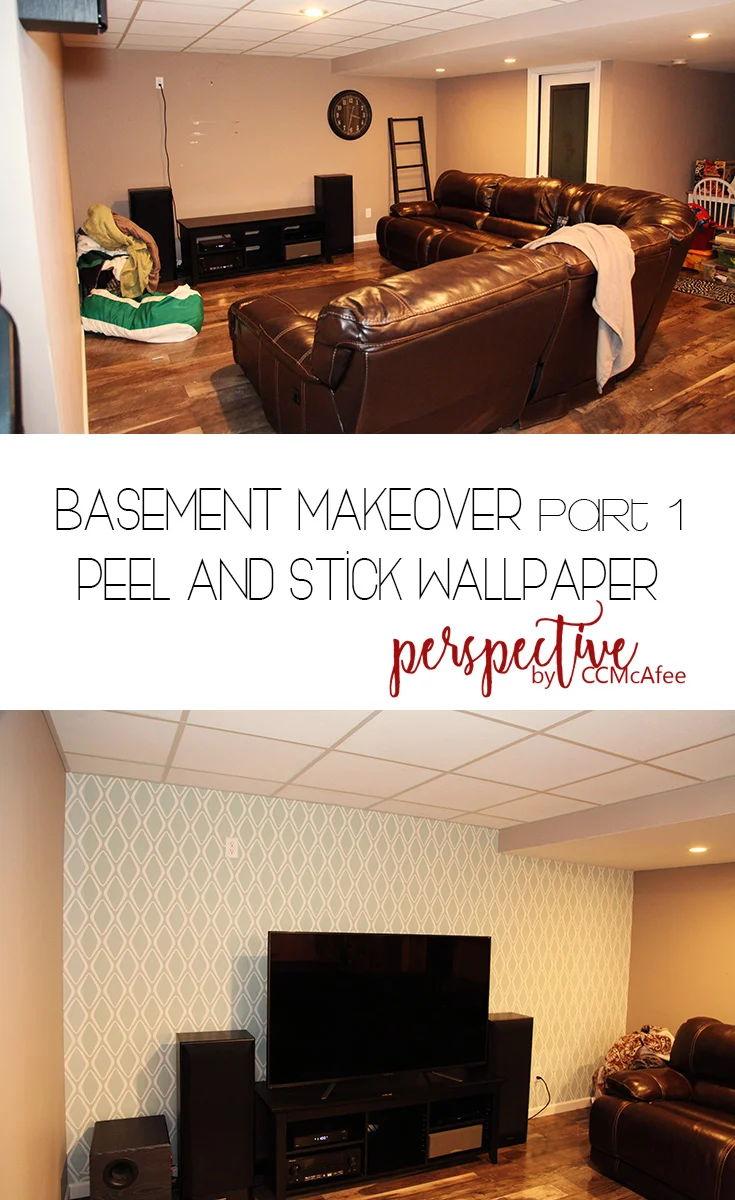
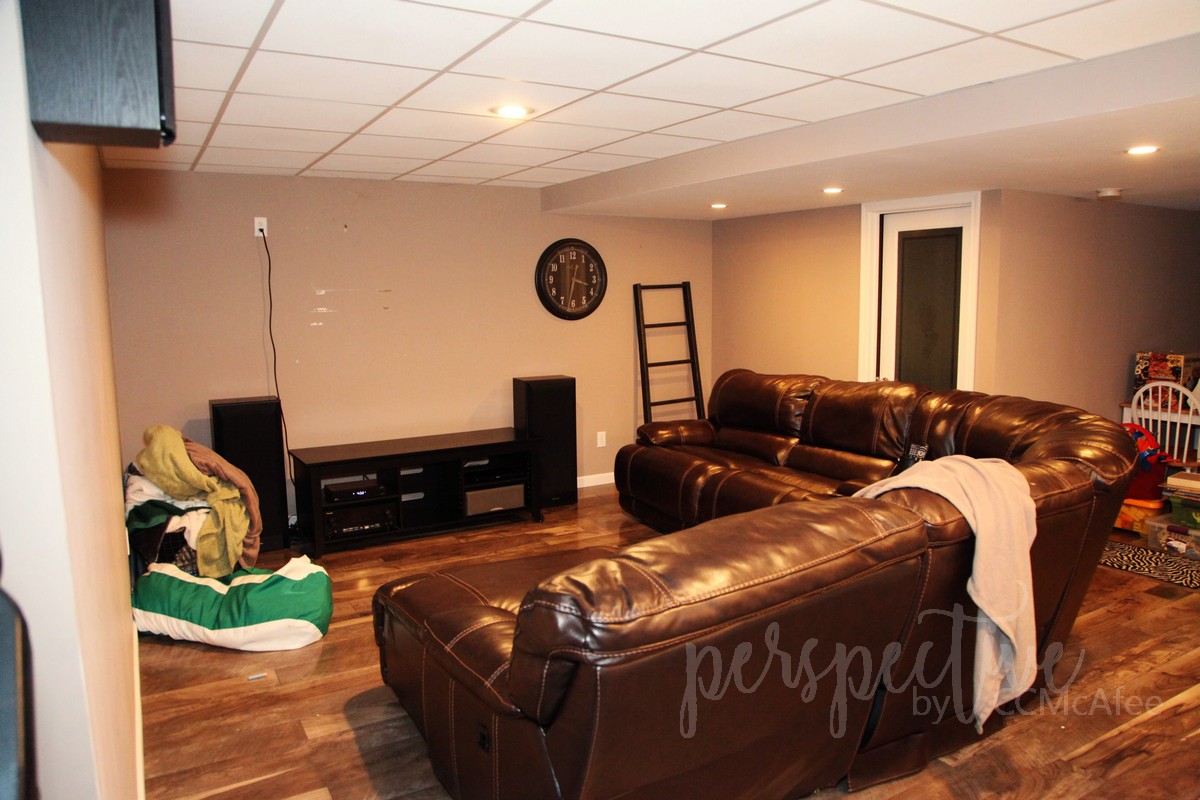
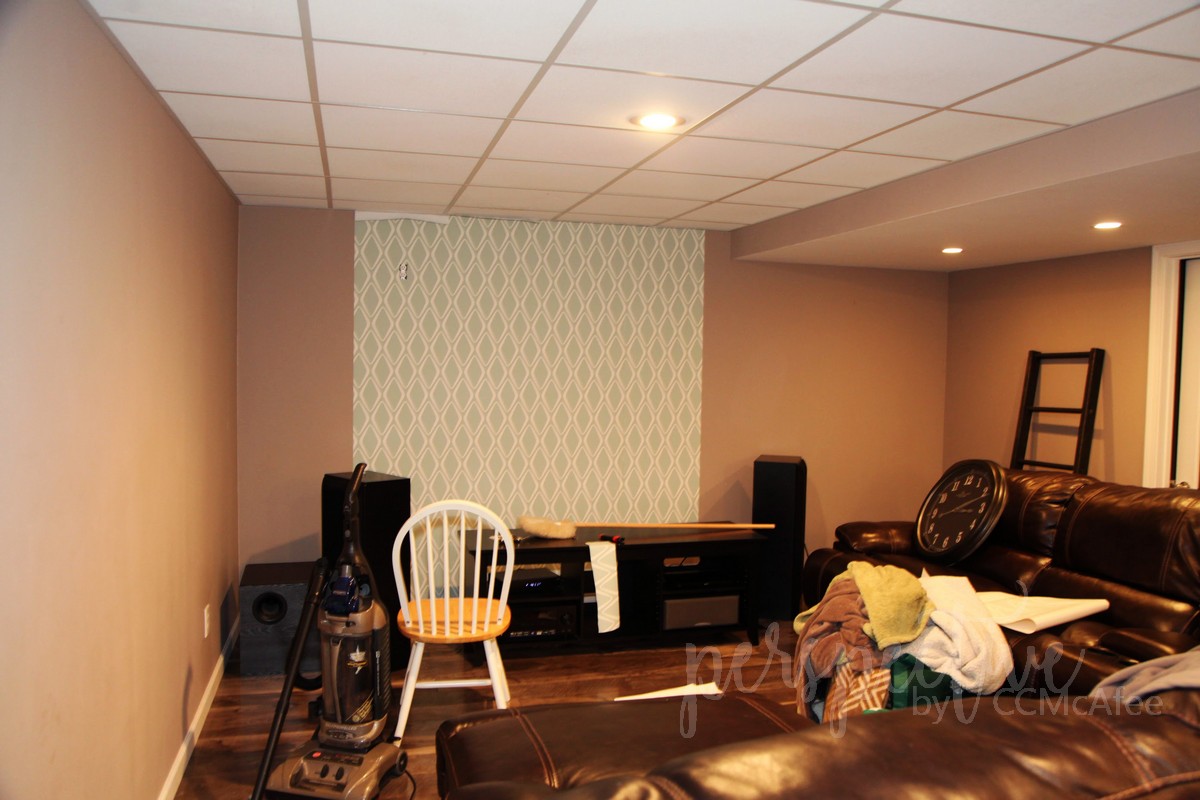
Here is how our room looked before, well after the TV was taken out. It's pretty plain. Tan walls, no real style. I had a clock hanging up, just because there was a nail in the wall. Again, I haven't made a real effort down here.
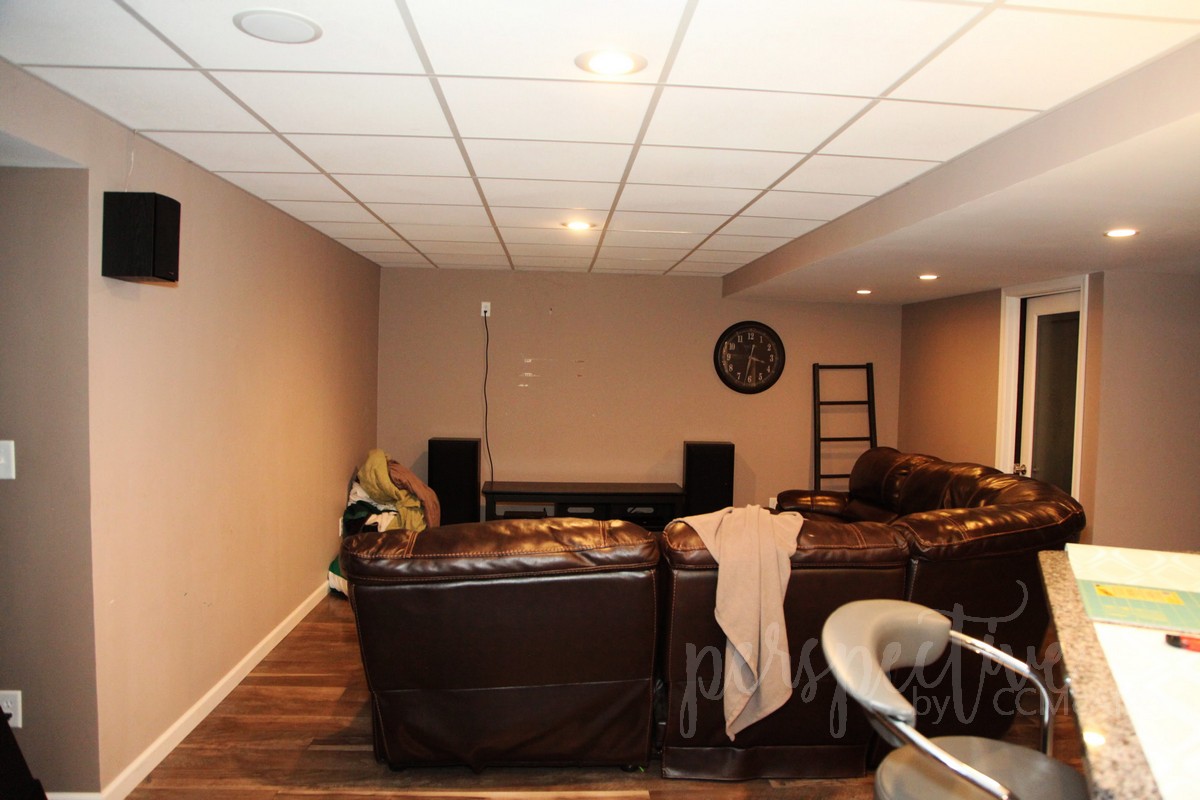
Prep was pretty easy, the walls are in pretty good shape. I took out nails, removed plug covers, dusted the ceiling and walls a little, it is the basement, so sometimes we have friends, in the form of spiders!
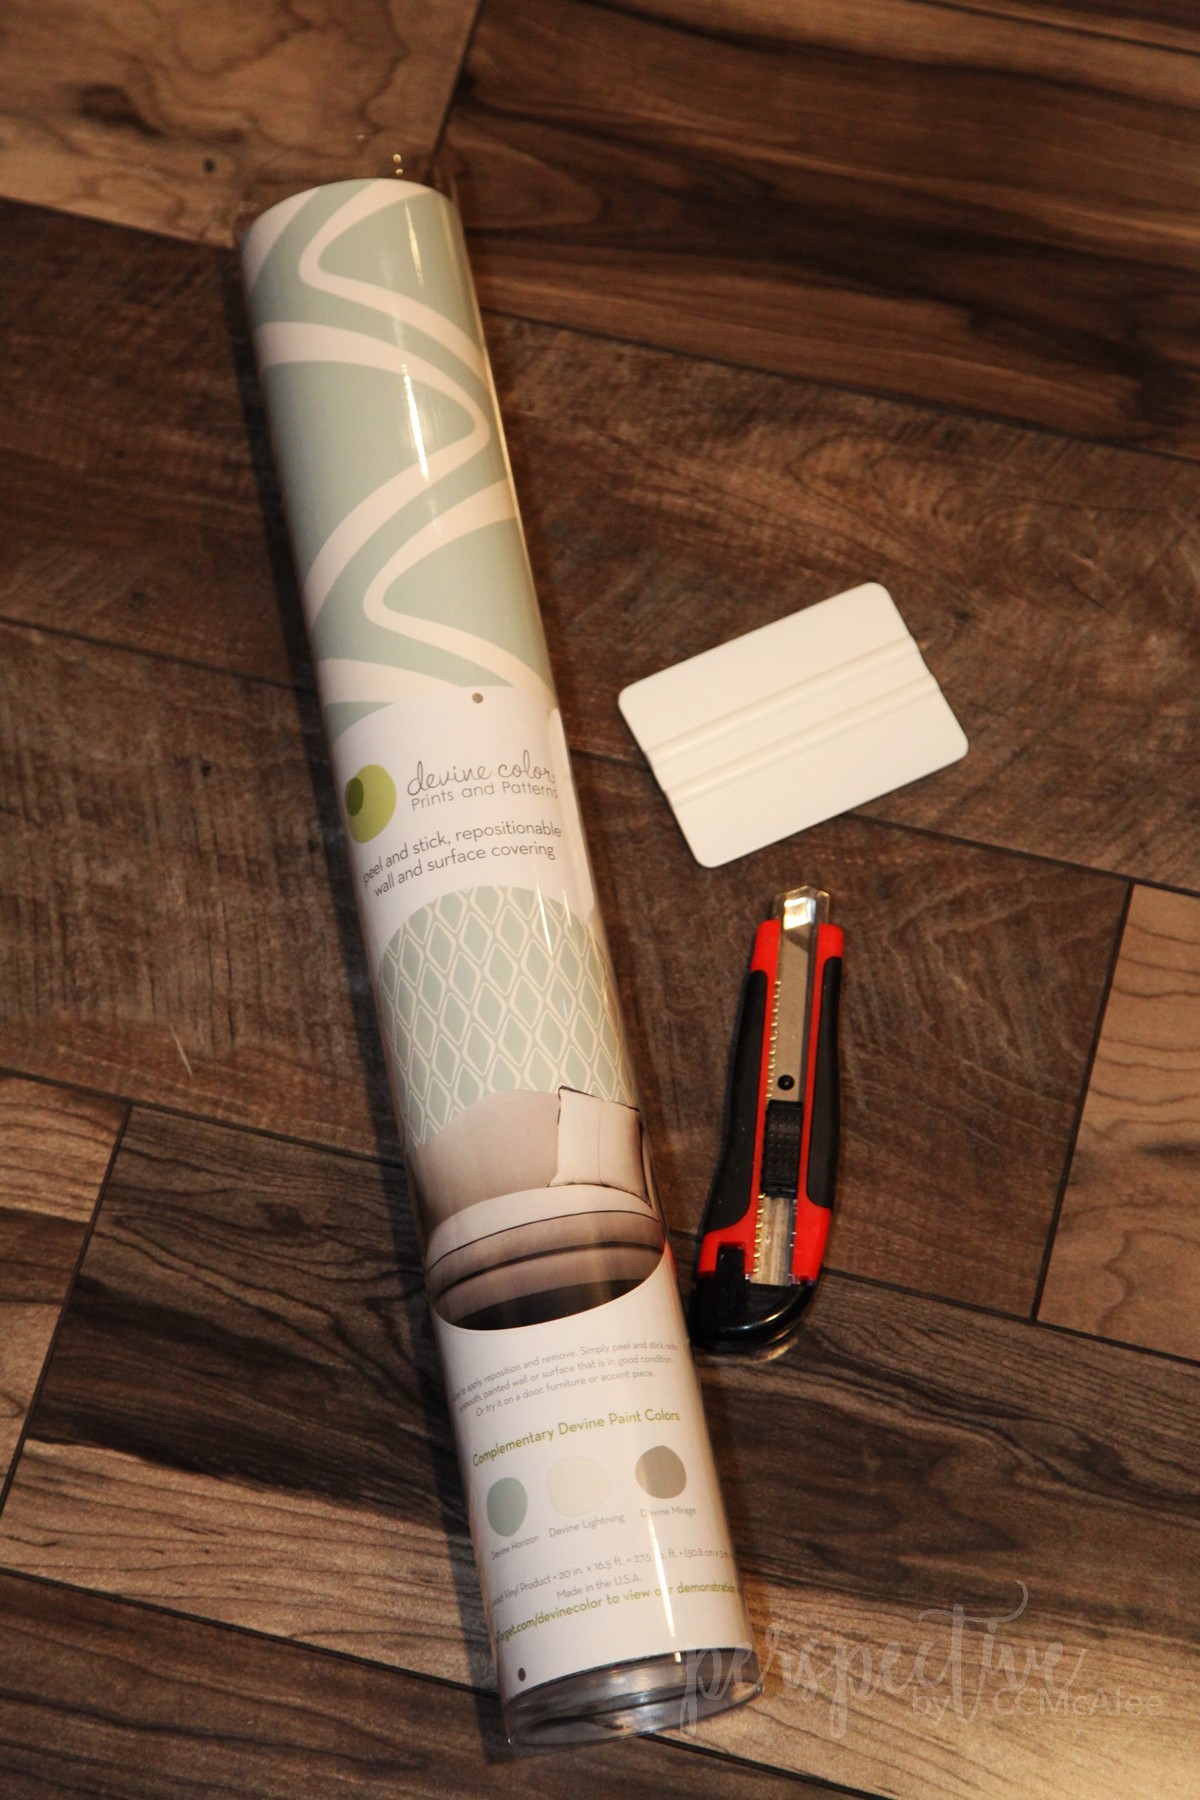
I got out my paper that I bought from Target, my level, my blade and my squeegie. It's just a piece of flexible plastic that I have from applying vinyl. It came in handy and I recommend having something like that for the smoothing process.
I initially started along one wall, but quickly decided that wouldn't be the best move. I guess you could, but I do think it's best to start in the middle somewhere and work your way out. Starting on the wall, and leveling off the wall may not end with straight lines! Also I think for patterning it's best to work in the focal point area then move outward.
Good thing it's peel and stick right? I chose my spot, stuck the top part on and leveled along the long edge. I worked in smaller pieces, or lengths, to help manage all the stickiness!
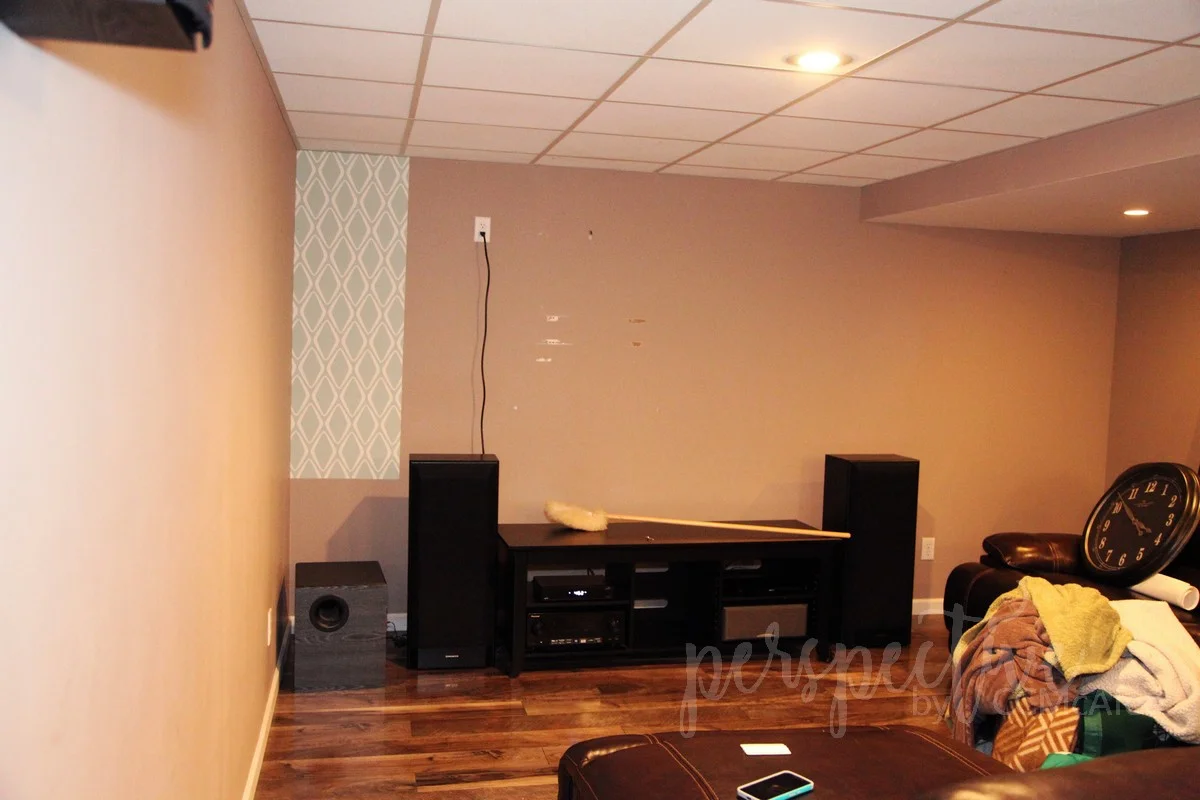
My main concern working with this type of paper was when it came to matching up the seams, and since I was working with smaller lengths there were a bunch of seams. I wasn't sure how forgiving it would be, if I could get a good match up and contact, or how easy it would be. My feelings? It's good stuff, on a flat wall, of course! I was able to match seams and it looks good! Here are some progress shots.
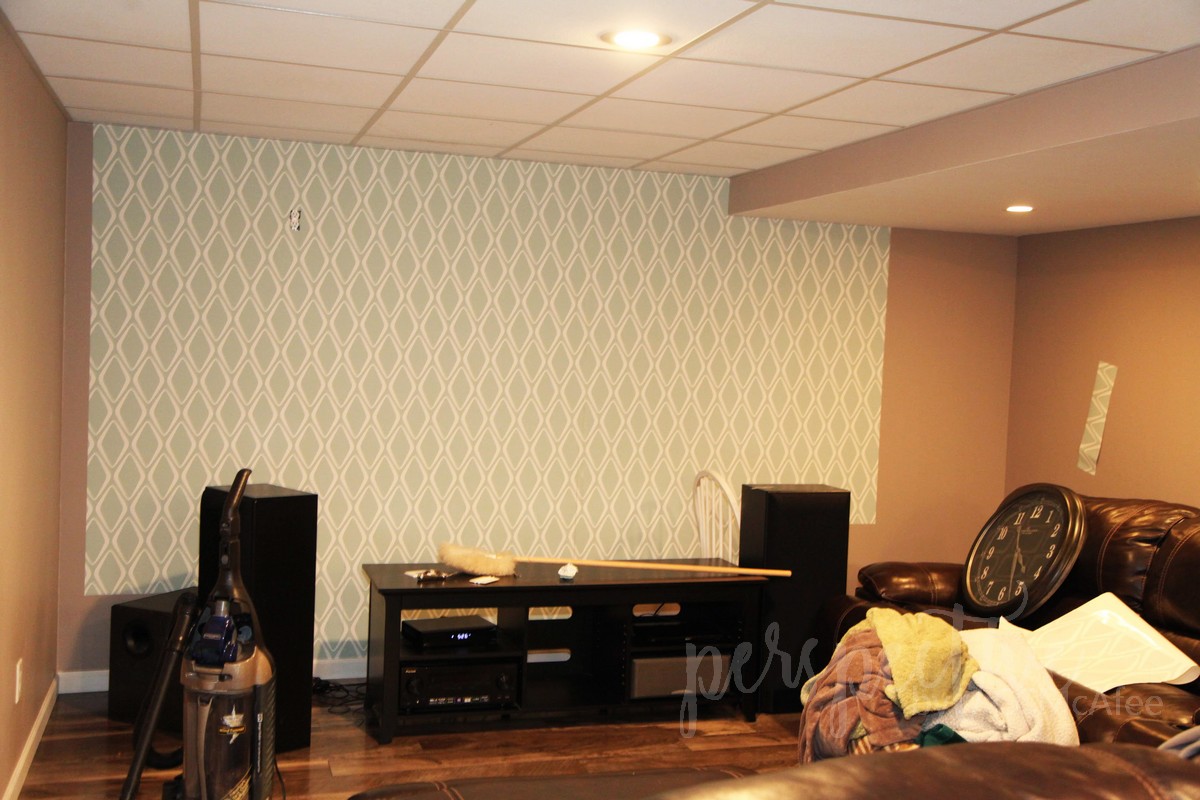
Here it is nearly done. If you have ever wallpapered before you know you need to match the pattern. This paper does have differing edges, to help with that. There was some patching to do at the end because I didn't want to buy a whole additional roll of paper. This wall took three packages.
I love it I do! Mostly I love making progress! I love making changes that help this house to feel like its ours. I can't wait to paint, get art up, get a rug and such to finish off this area of the basement.
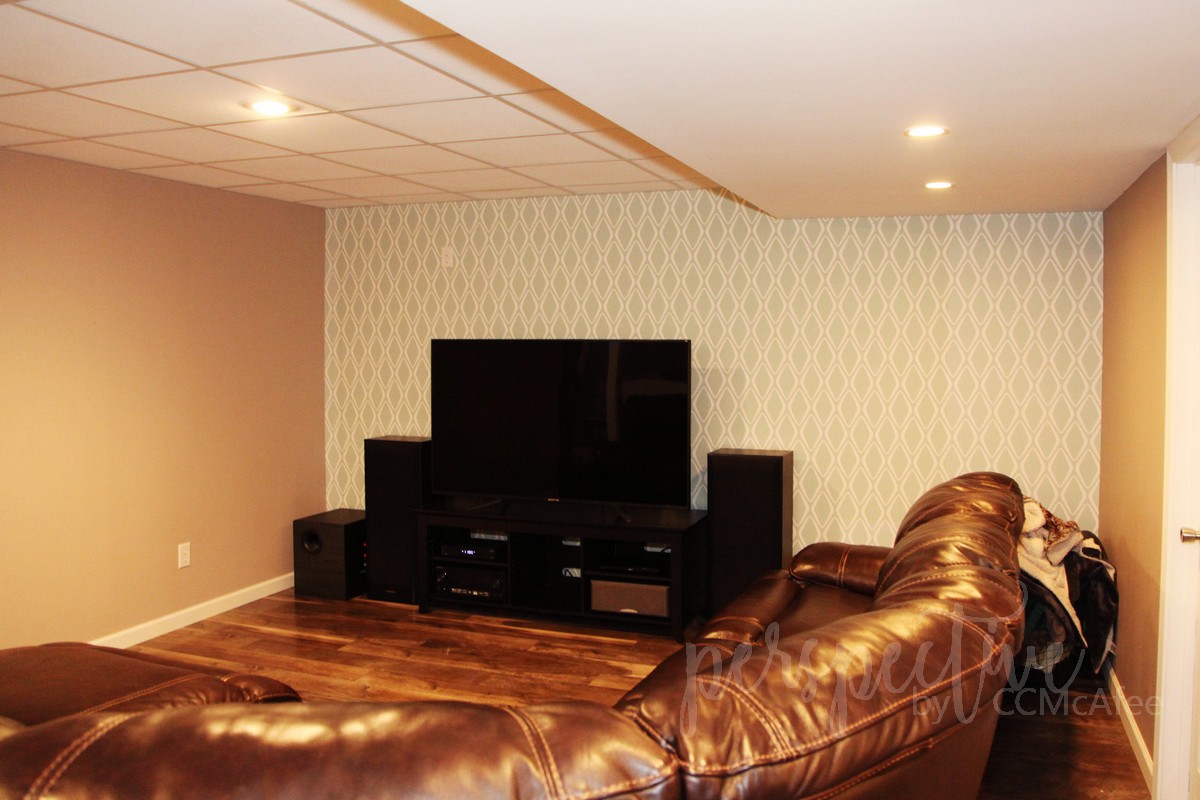
What do you think? I think I may be inclined to use this peel and stick paper again, in a few other rooms in our house.