
Our Mudroom Makeover - Wallpapering
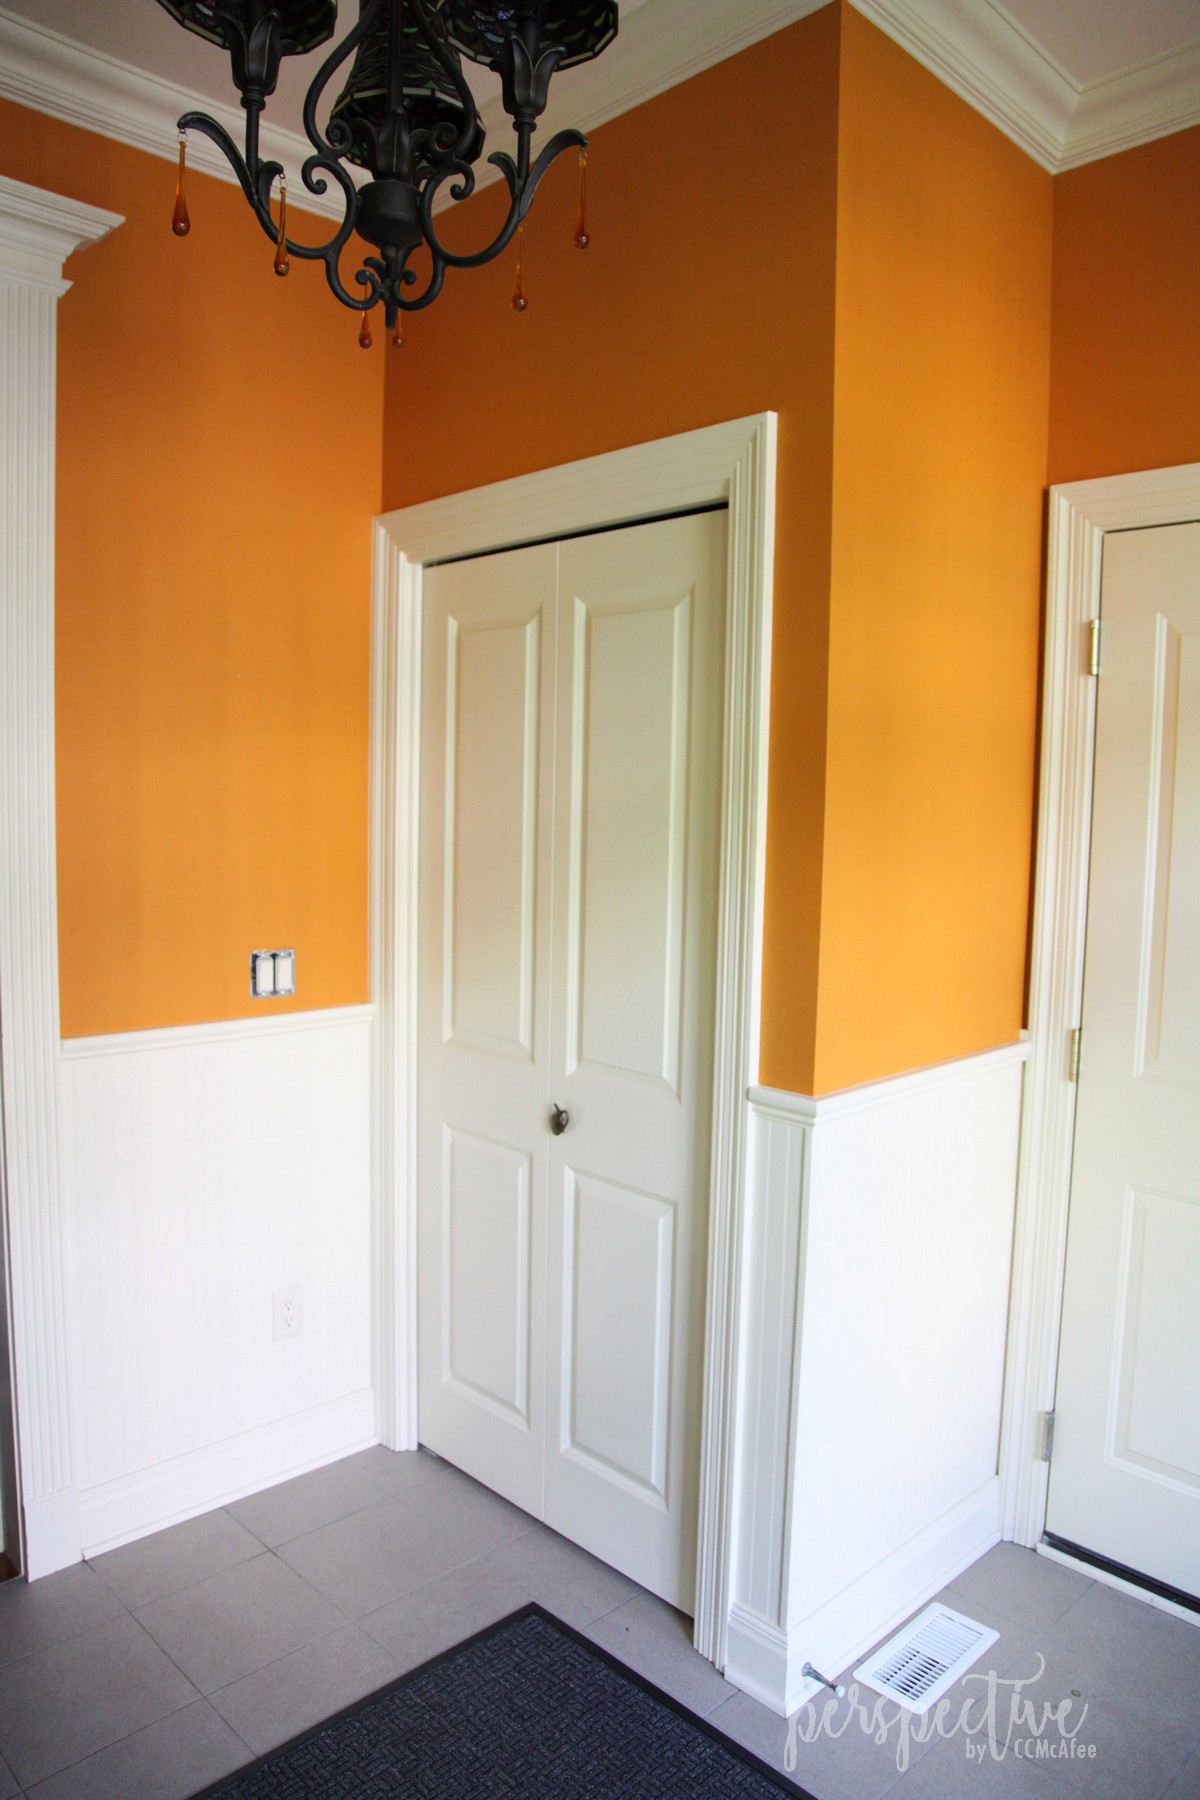
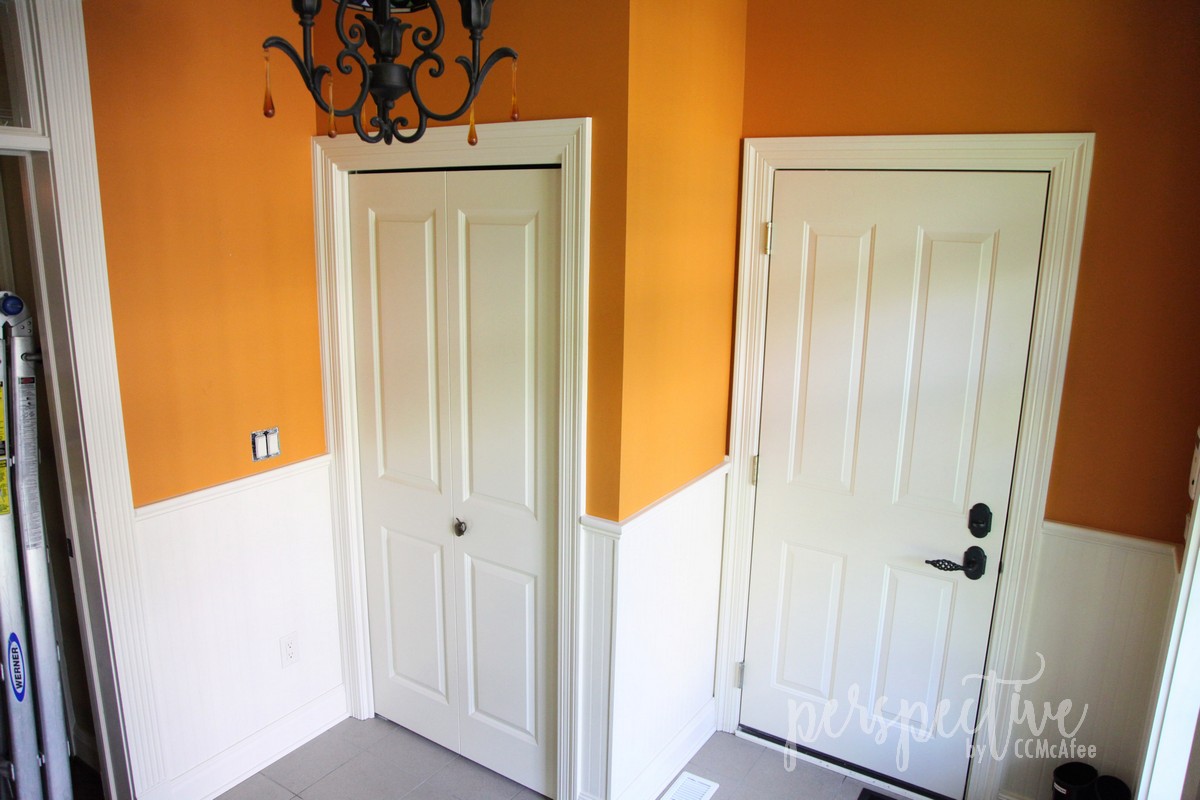
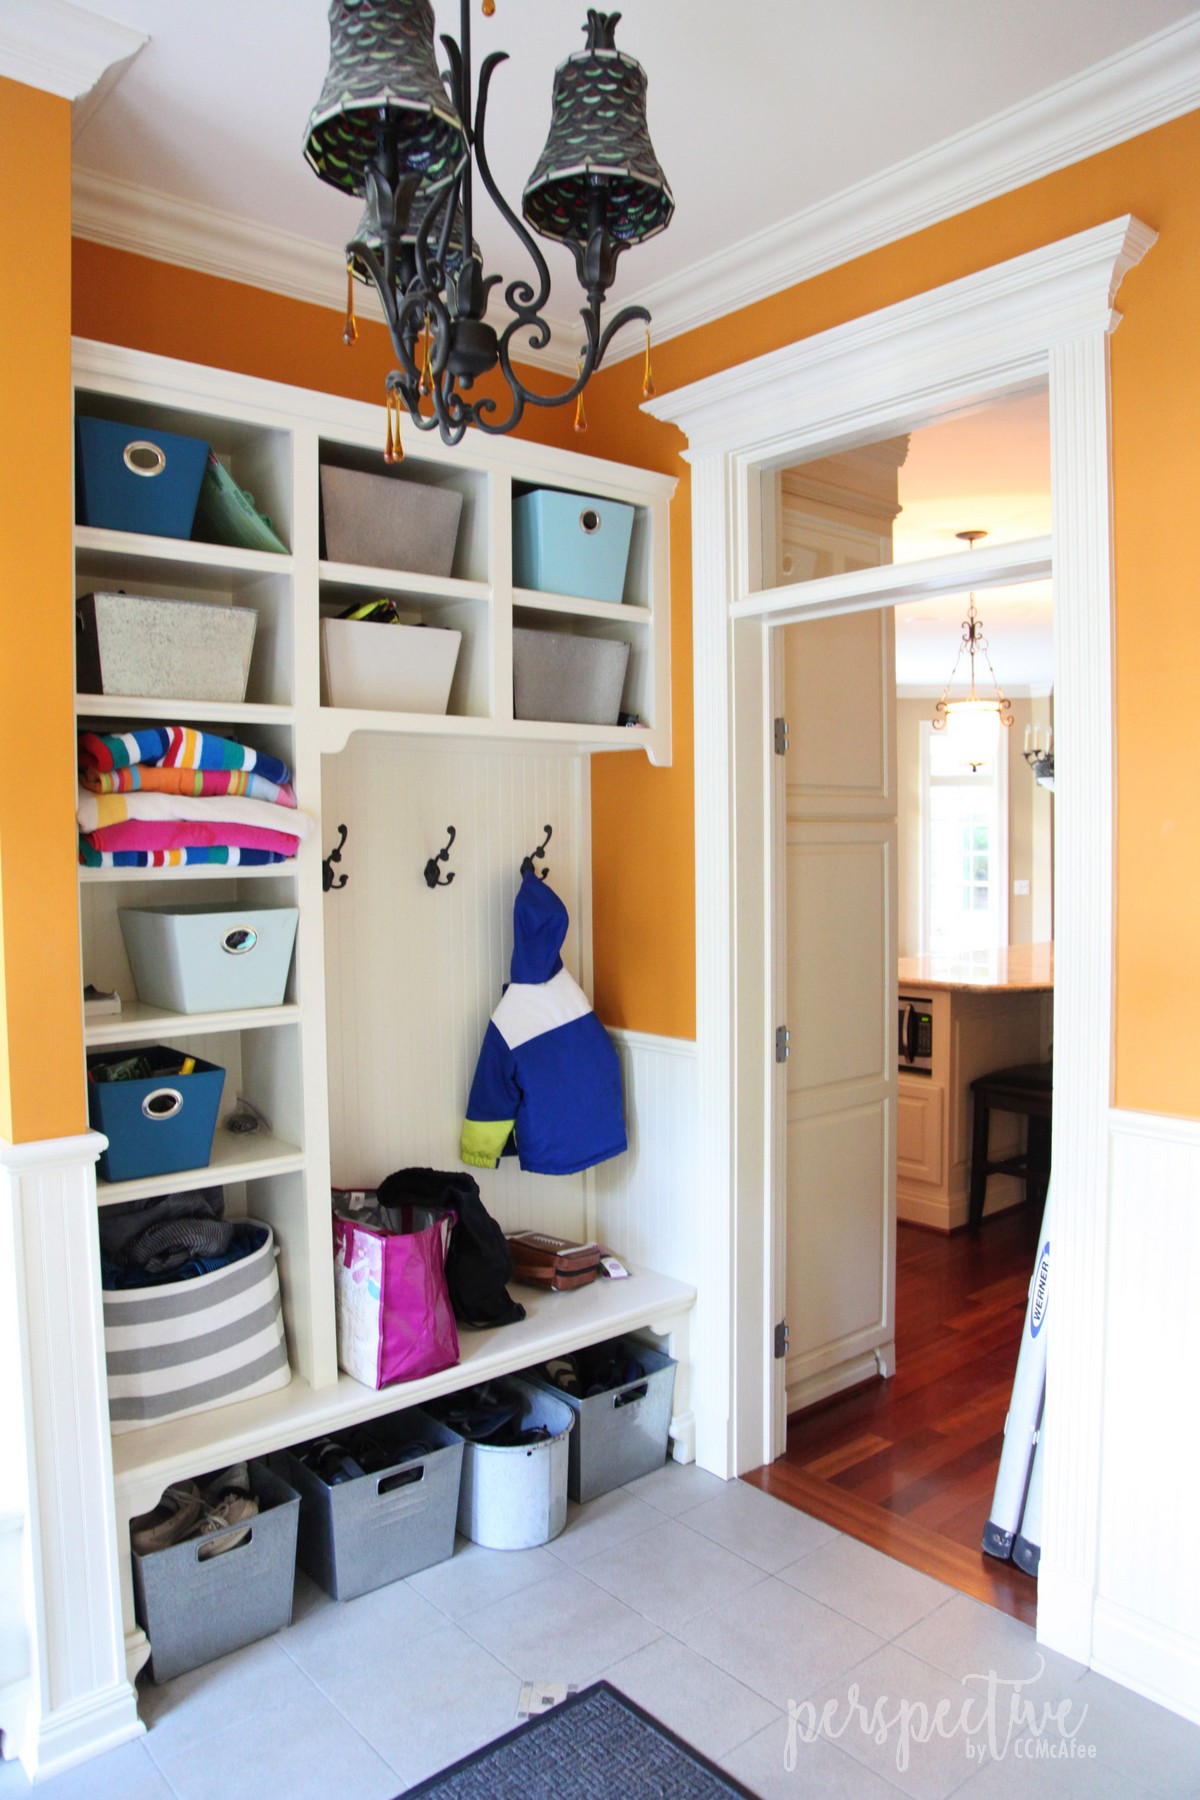
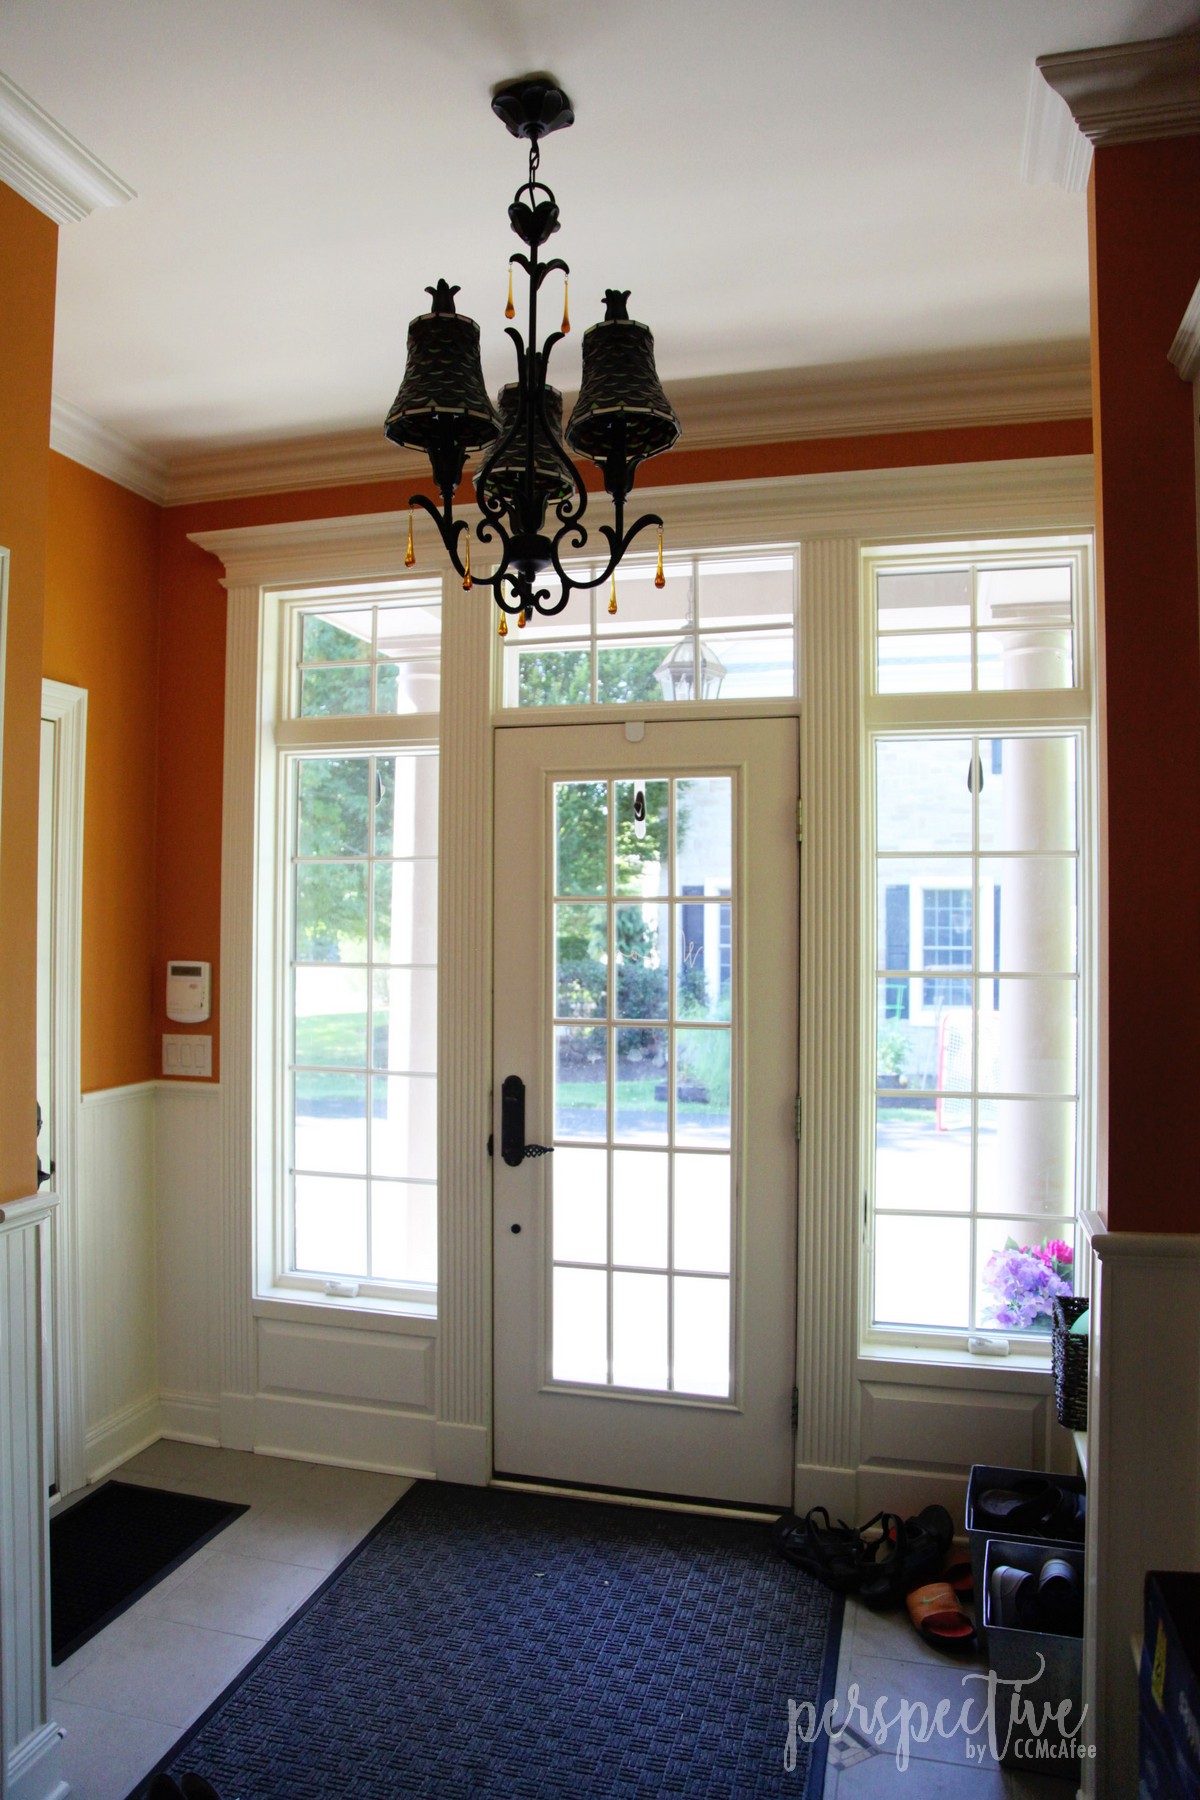
The very first thing we saw, the very first time we walked through our house was the mud room. It was/is pretty! I love the wainscoating and the built in cabinets! Coming from our old house, with no mud room, and a tiny front hallway, that was barely an entry, this was deluxe!
I still love it! I was not, however a fan of the orange color. I really do like orange, in fact our old dining room was orange. Maybe that was why I wanted it changed out so bad. I'm over orange at this point! I wanted to brighten it up.

I pretty much wanted wallpaper from the start. Convincing my spouse that wallpaper is fabulous, that it's nothing to curse at or be afraid of, took a little doing. He didn't understand why we couldn't just paint. He didn't understand my need for a pattern that I couldn't paint on, and didn't want to stencil on. This is a space that can handle wallpaper, and it's a small enough space that M was able to let me do my thing. (He is sometimes skeptical, but usually ends up happy with what I do!)
I initially thought I'd do a removable wallpaper. I even bought some and attempted a start! This is a tough project though. There is not a lot of just plain wall, there are a ton of cuts, going around doors and cabinets. Add pattern matching, it really was an involved project!
It only took me a second to realize the peel and stick was not the way to go... for this project!
I chose my wall paper, bought my paper from Wallpaper Warehouse, at least what I thought would be enough! It is gorgeous. I love the color and I love the pattern, and now it's on sale!

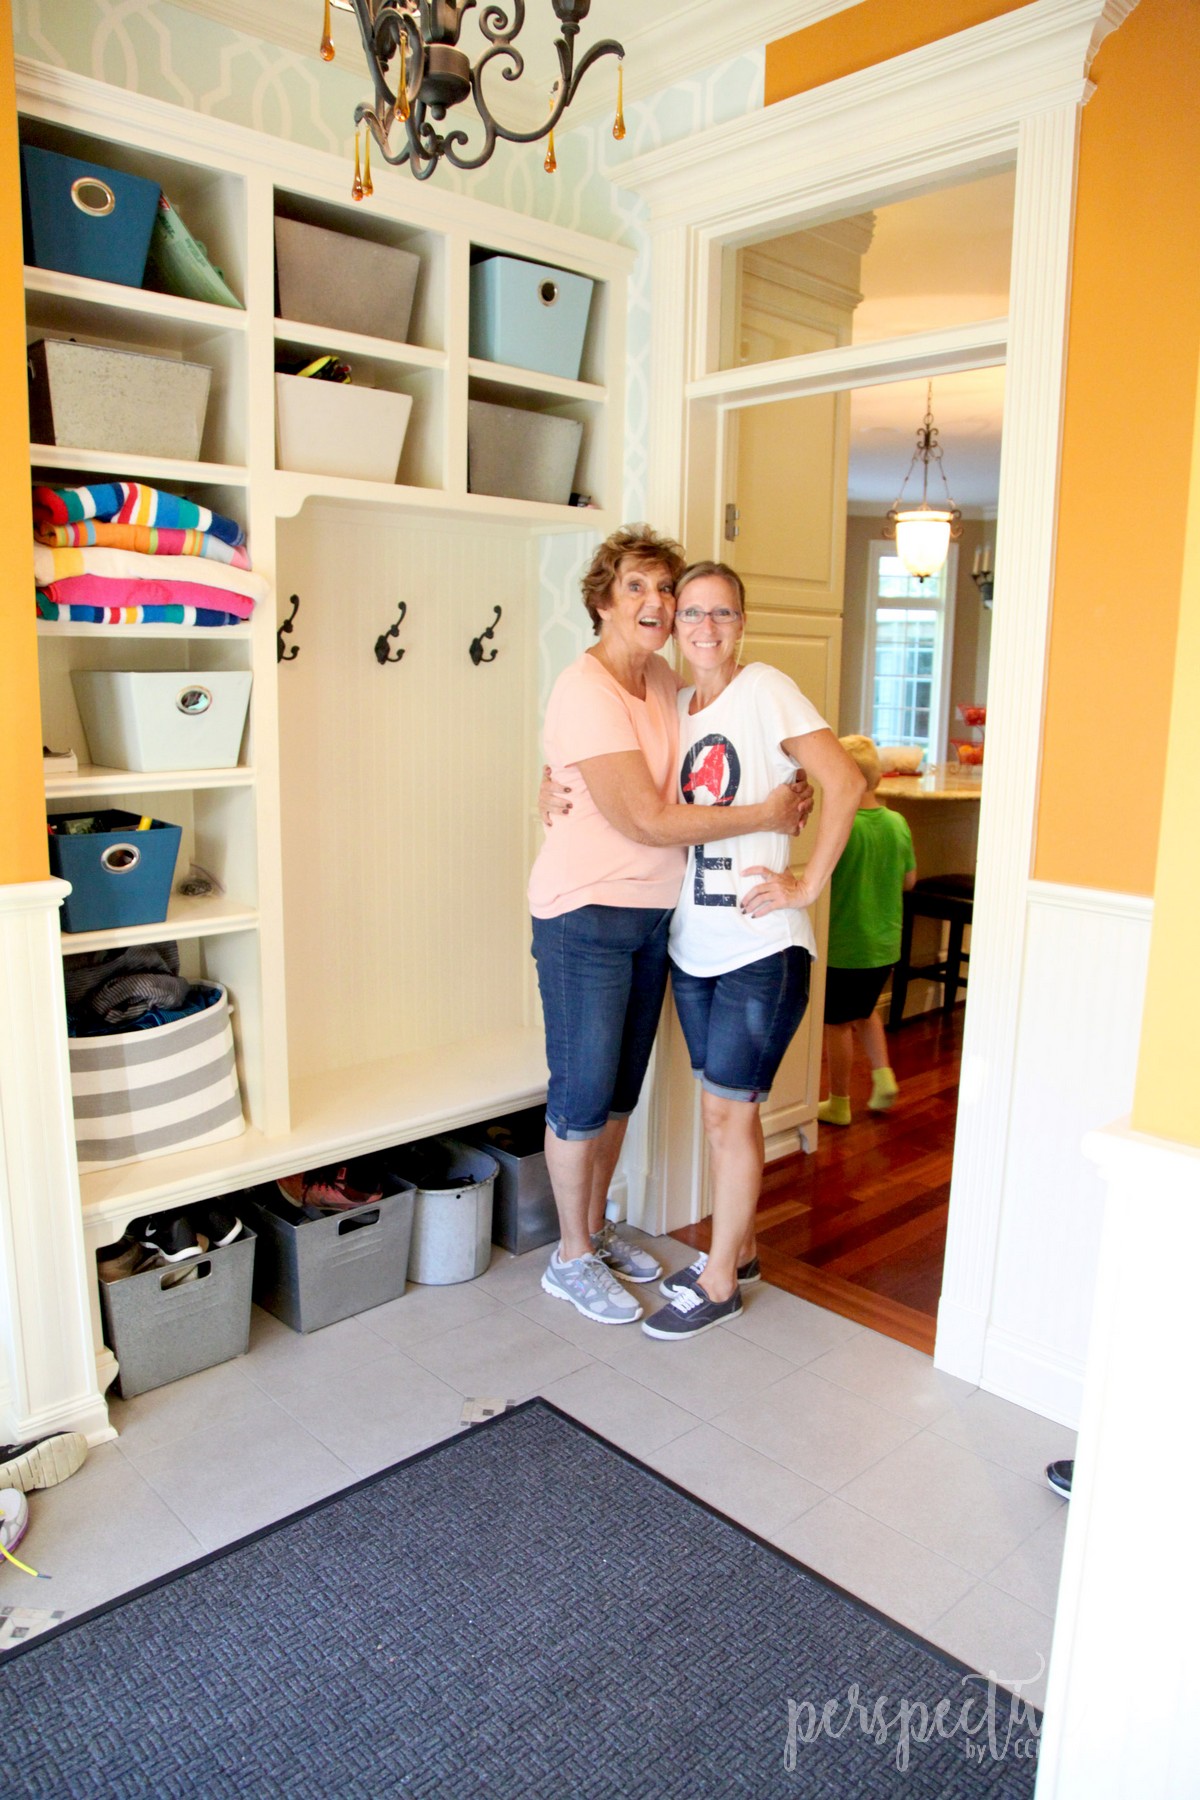
My mom was here in September and she is the master wallpaper-er! Serious, like every room in the house I grew up in had wallpaper on it. It was perfect timing, glad I waited and she happened to be coming out (surprise from the husband!).
I have wallpapered a couple of times, and could do it on my own, but I wanted to do this with my mom. I could learn some stuff, plus, having extra hands, that know what they are doing, makes things go so much more smoothly.
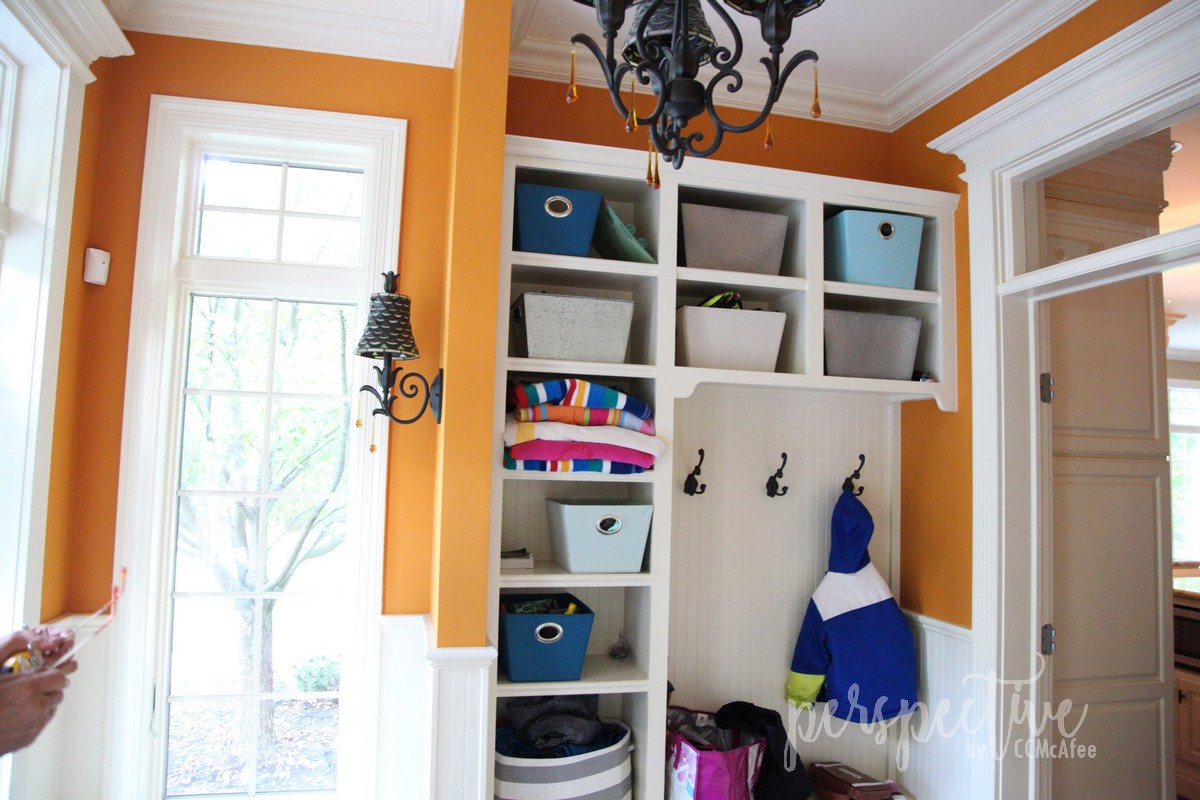
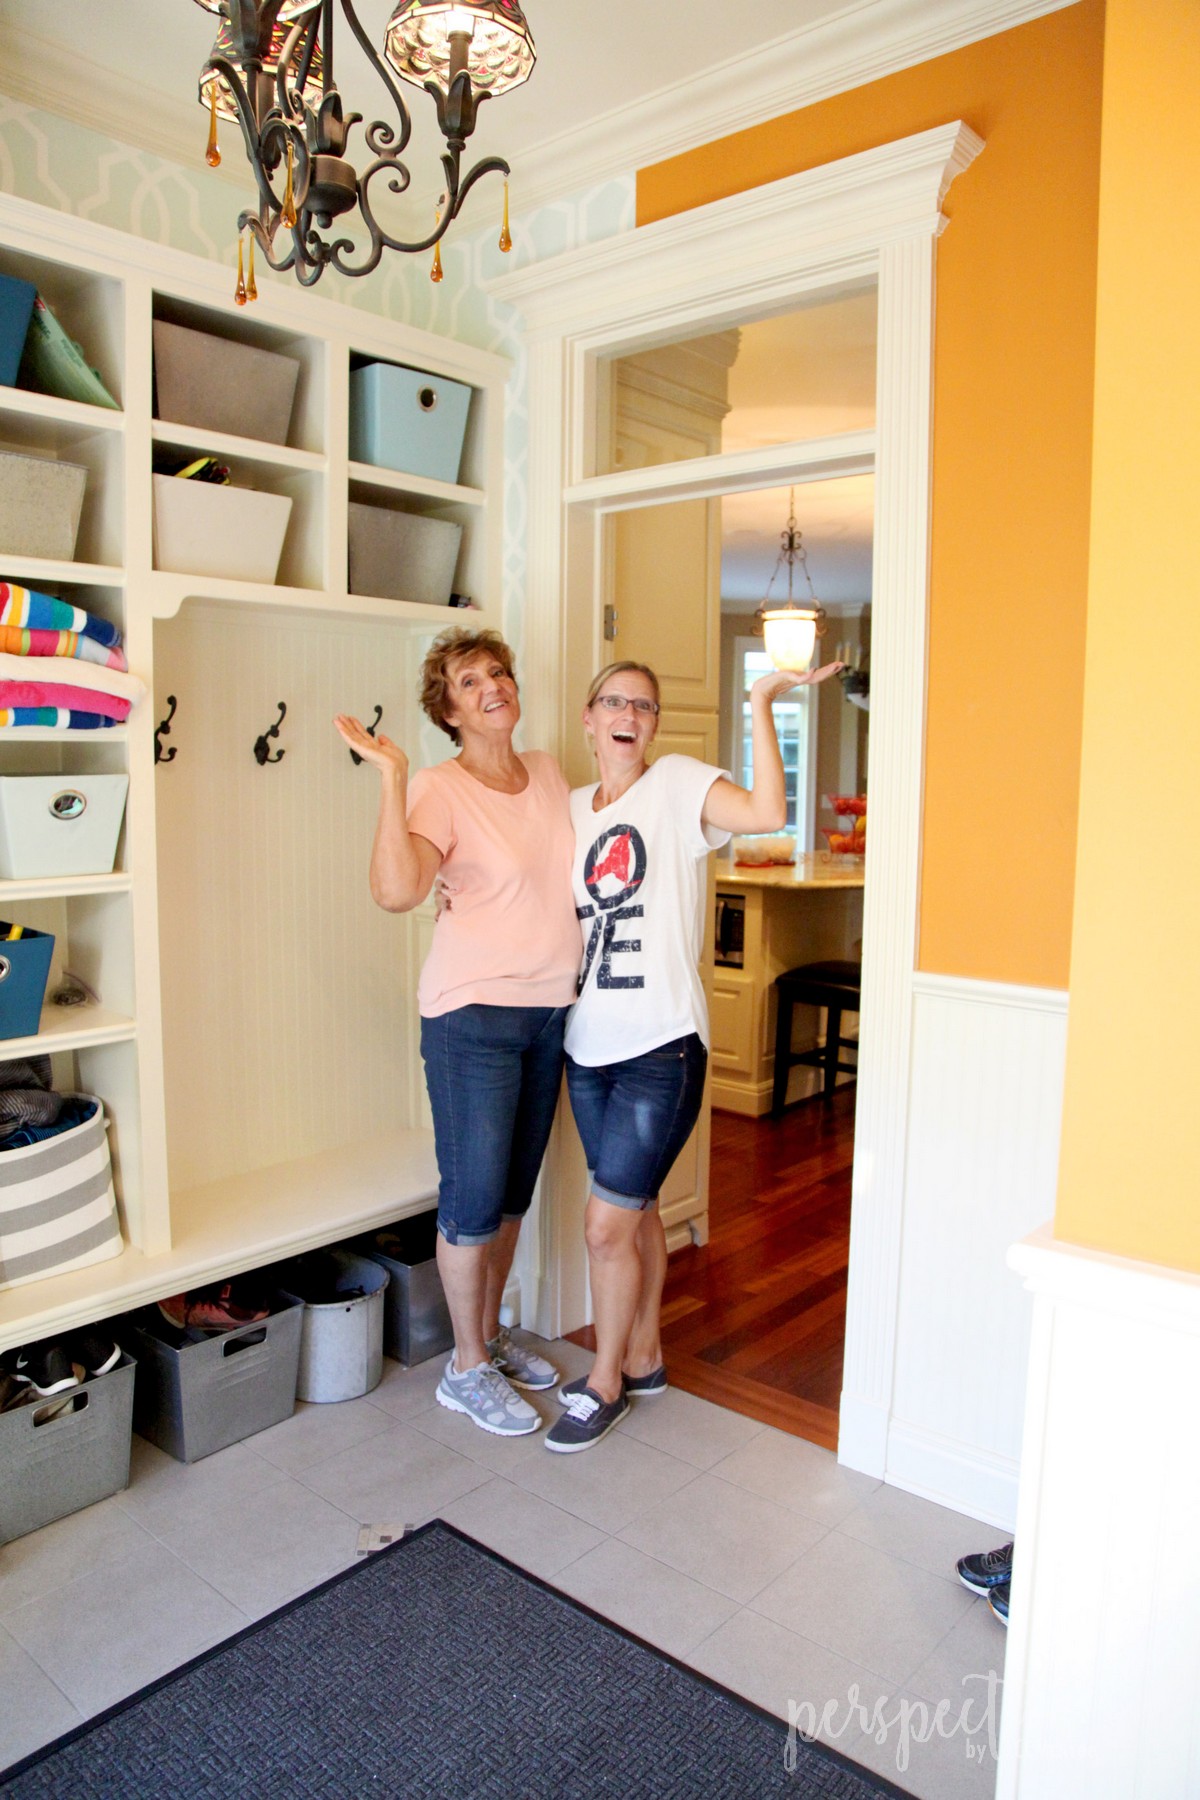
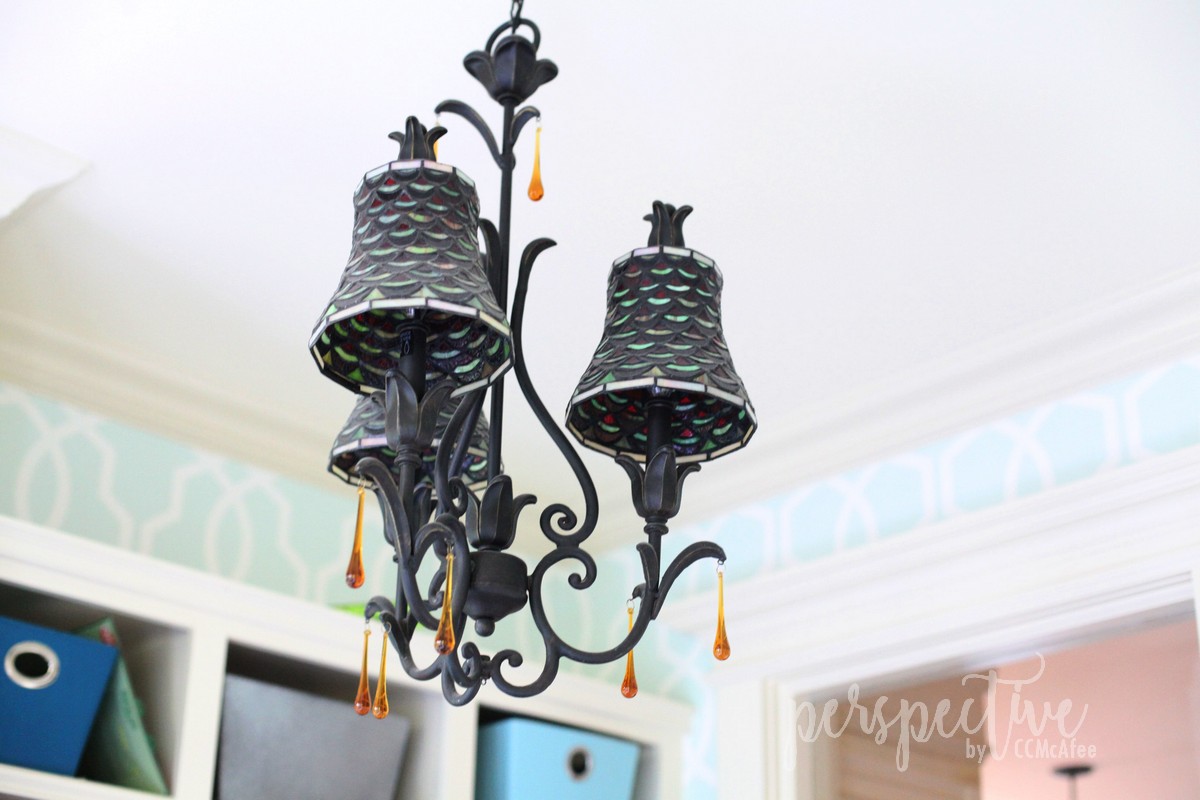
This is a relatively small space, the benefit of big spaces is there are fewer corners, more flat wall, to paper, which is easy! In my mud room there is cabinetry, light fixtures, windows, doors, a closet all to cut and go around. As we got started I was oh so glad she was there! It was not an easy project, but it was so worth it to me! I love it.
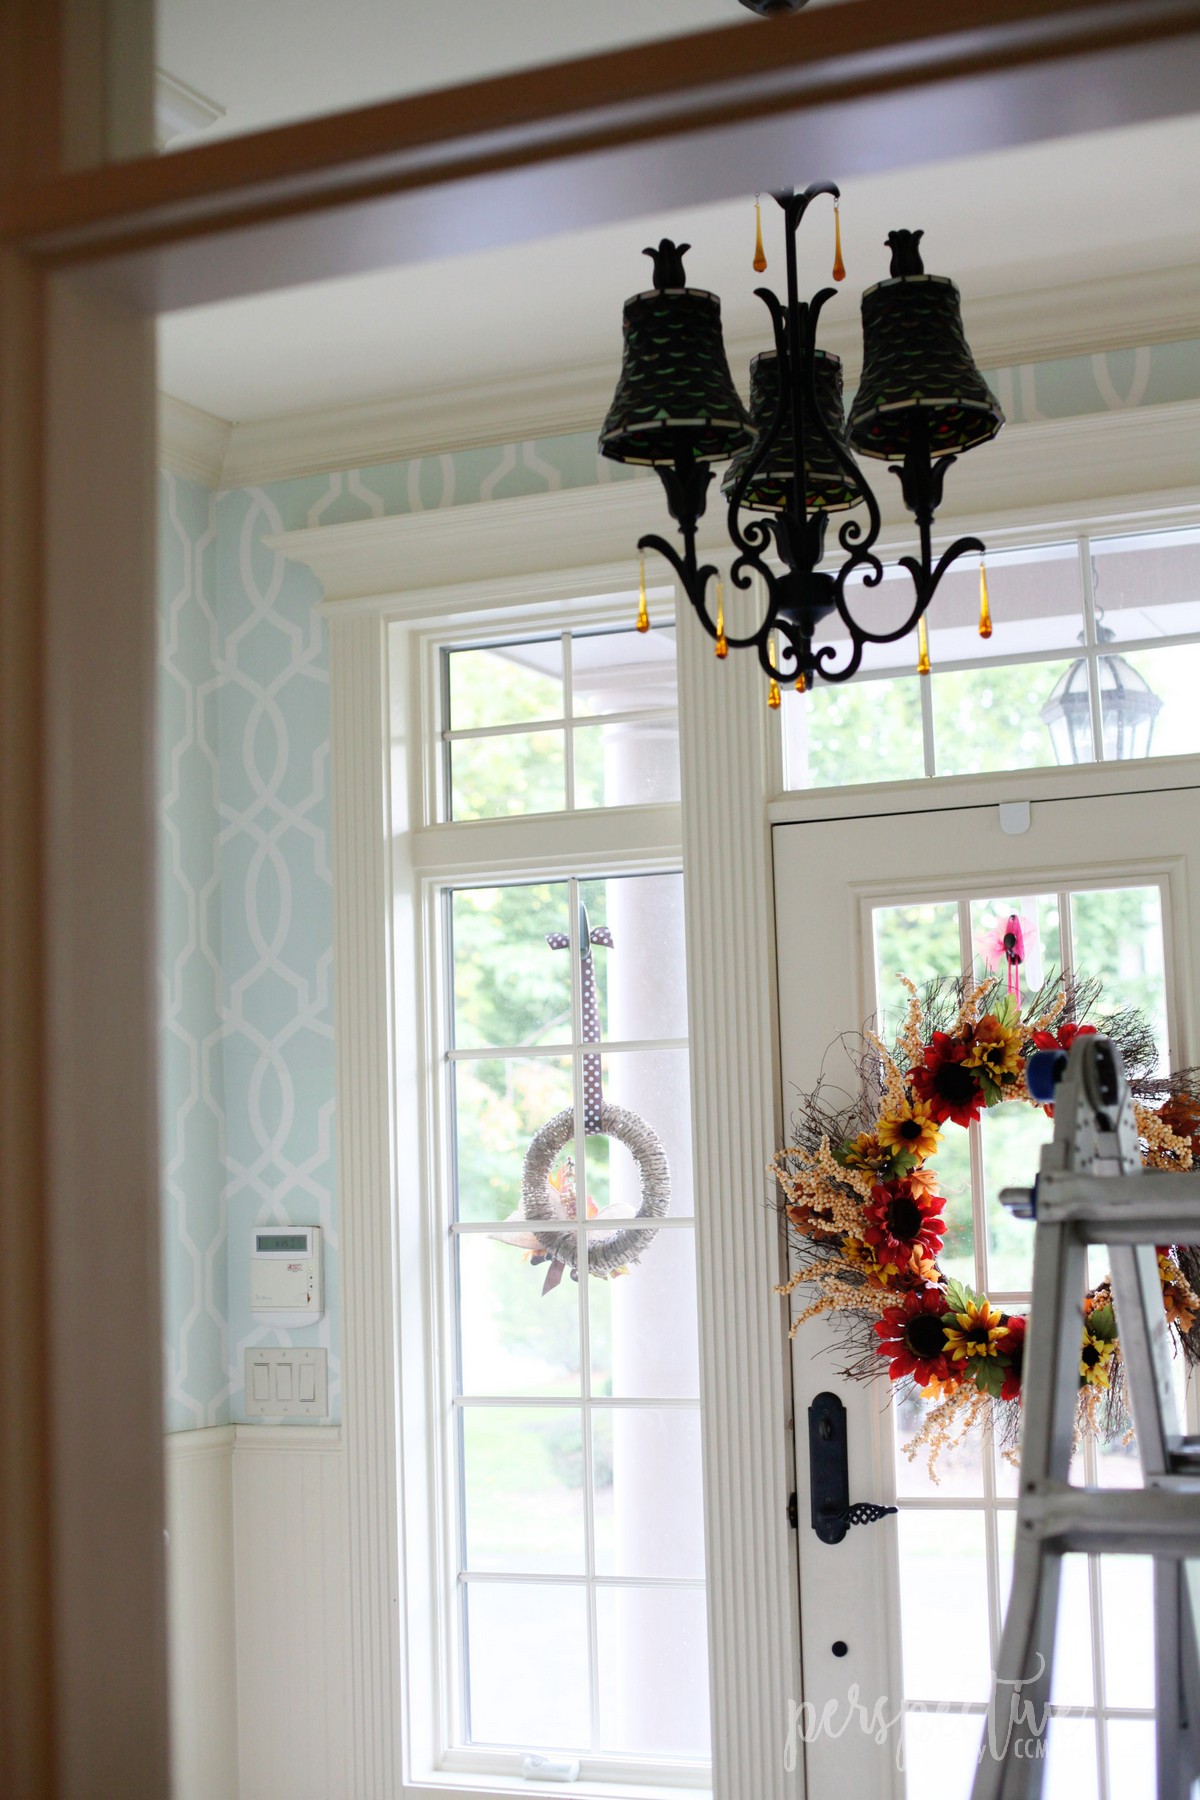
Here is the mud room before... please excuse the mess... it makes for more dramatic before and after shots!
We got only partway through my mud room together. I had to order more paper! Here is a peek at the progress we made...
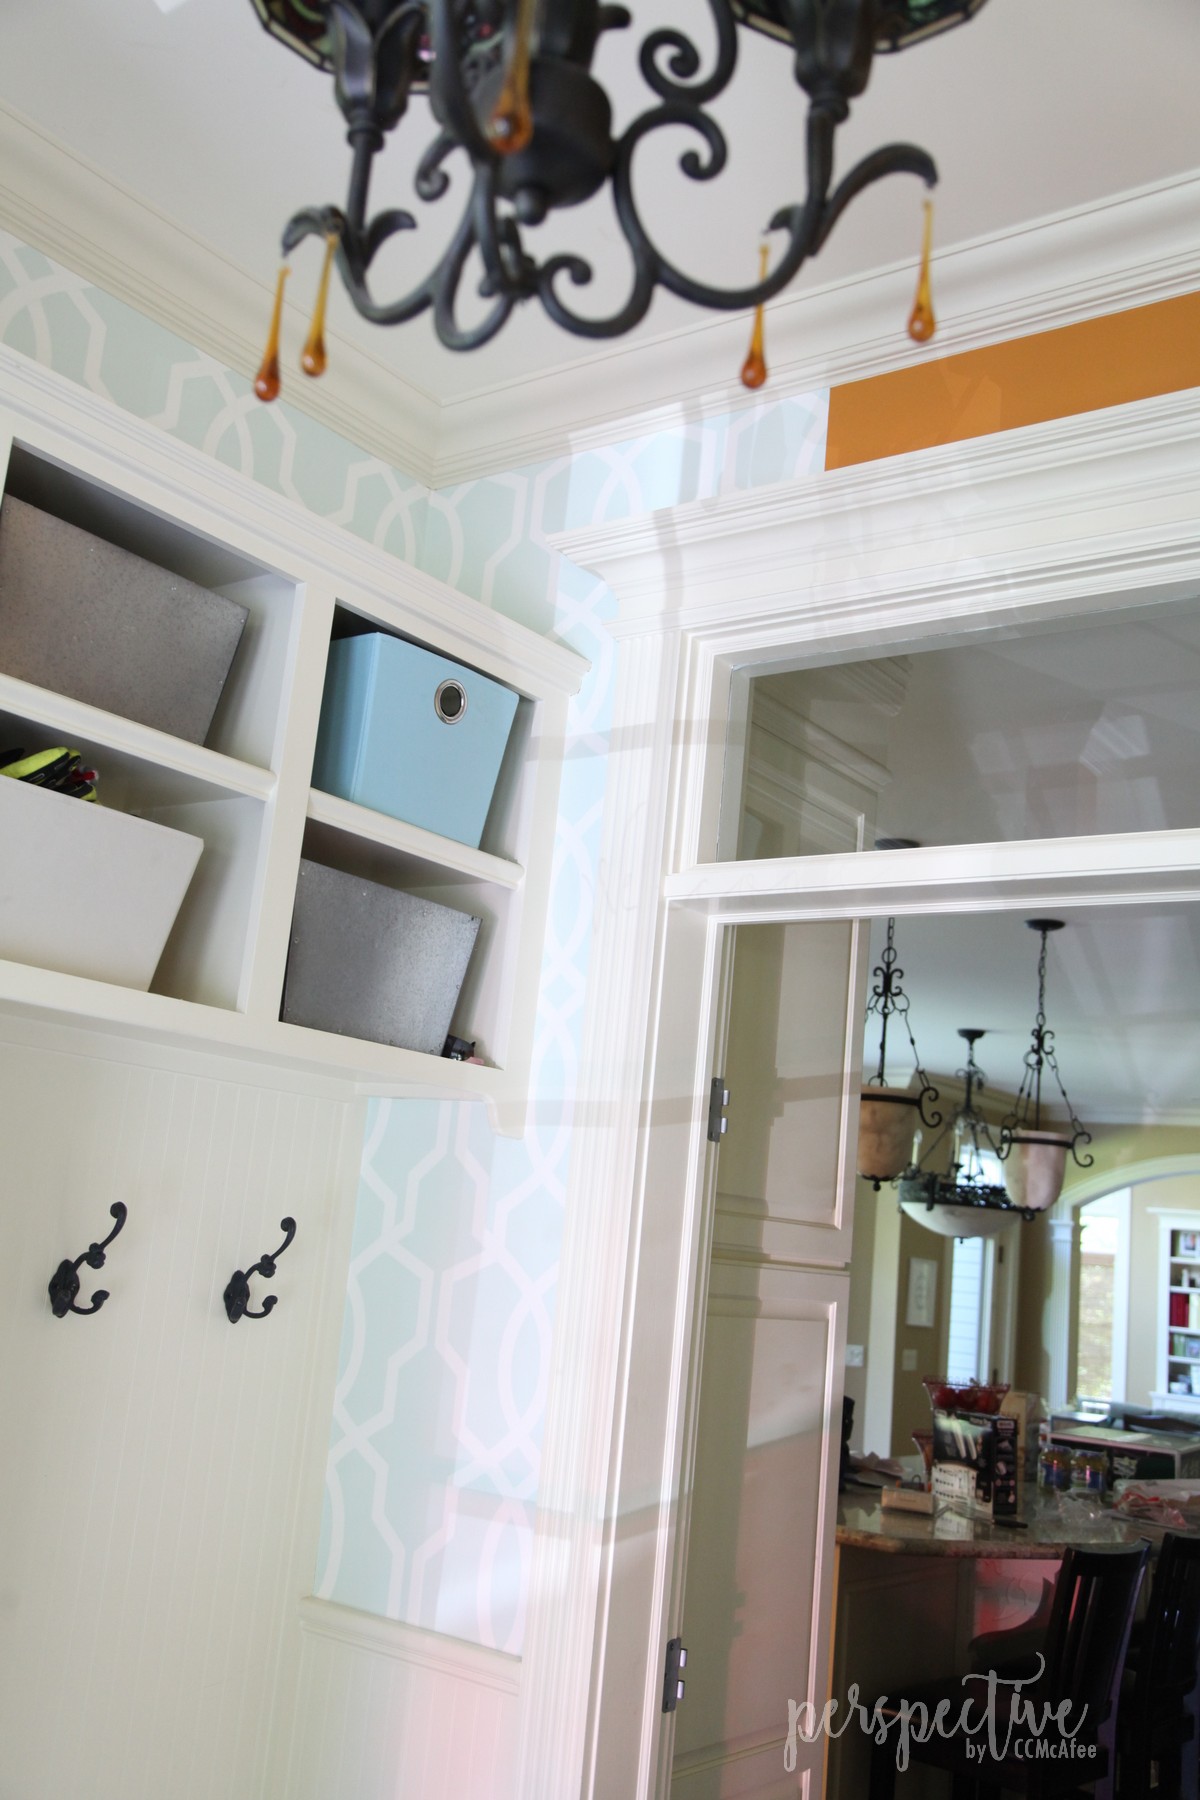
Here is my tip: know how much paper you need prior to ordering! Really, take the time to measure and know! All papers are done in different batches and my lots were different, which means the colors are off from each other just a smidge. Other's can't tell a difference, but I can! Of course as you step back and look at the whole project the flaws sort of vanish, but if you can, order accurately. Also, extra paper is good! A lot of my paper was 'waste' when I had to cut into it to go around stuff.
Here is just a sneek at what the paper looks like...
Stay tuned for the full reveal!
I'll show you the whole space and how it turned out all decorated!