DIY Halloween Hairclips
Who doesn't love a little festive?
I created these hair clips a few years ago. Gone are the days of putting cute things in my little girl's hair, but, but, I will always enjoy creating these things. So, hopefully you can glean some inspiration if your girl is still little enough to wear cute hair things!
These hair accessories are super easy, can be done super fast, and can be worn all month long!
Here is a peek at all three... and a pin for you!
1 - Resin Bobby Pin
Pretty much anything can be put in your hair! Just slap it on a clip or pin and you're good to go!
I found these resin Halloween pieces at the craft store, on clearance, in the scrapbooking section.
They have a little foam sticker on the back of them, I peeled that off, and simply glued them to the end of a flat ended bobby pin.
The bobby pins look like this and you can get them at the craft store or on Amazon... of course! I've linked both silver and black ones for you. I've also linked resin pieces. There are two options here.
I'm also linking E600 glue. Because of the metal and plastic combo, if you use hot glue, your little plastic piece will come off easily. E600 will connect the two pieces better.
How easy is that cute hair clip? You can even get all the stuff without even leaving your house! :)
2- Foam Snap Clip
This one is crazy easy!
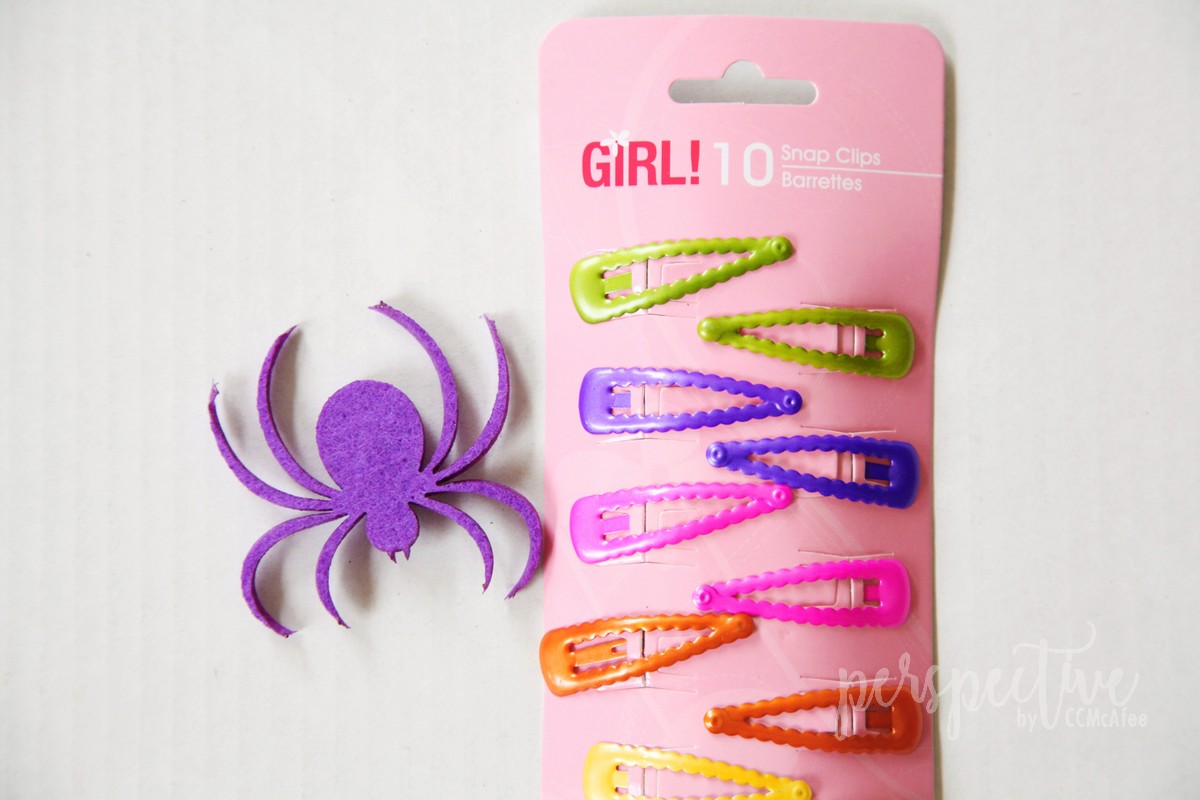
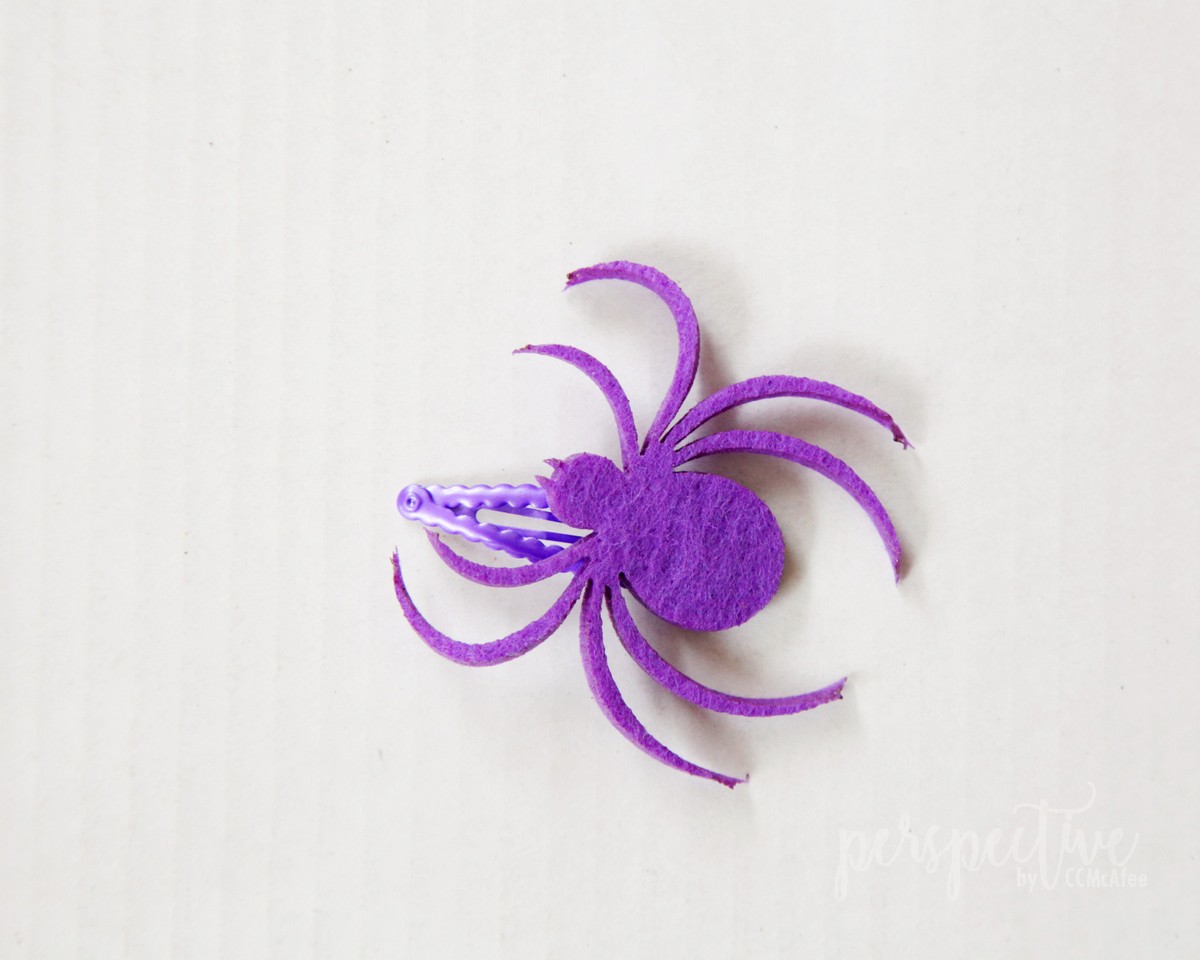
I used these foam/felt type spiders that I got at the craft store. I'm actually not sure what material they are made from, they are more stiff than foam, which is nice for your hair. They are lightweight too. I glued on a snap clip. I recommend using the E600 for this too.
I got the snap clips at the dollar store. I love thinking outside the box! Really any little Halloween chochkee can be used as a hair accessory.
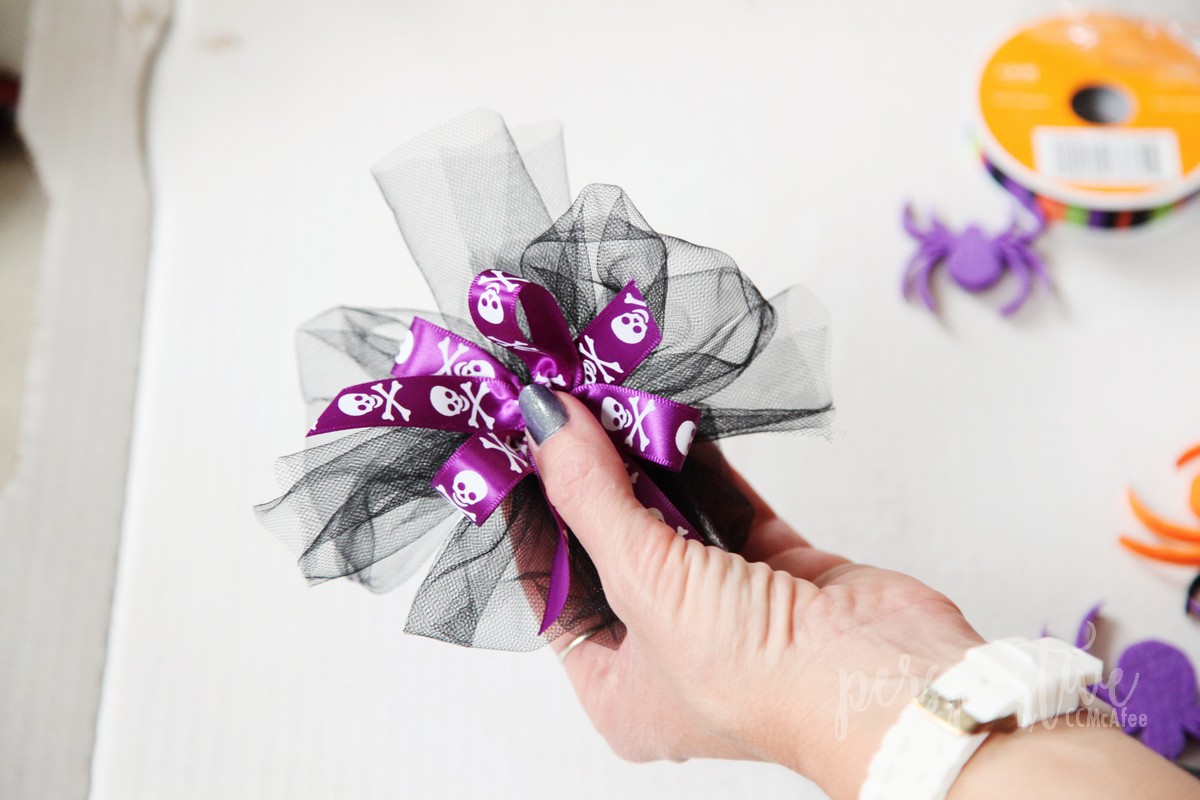
3- Halloween Toddler Bow
This one is a little more involved, but don't be scared! You can totally handle it. Essentially it is just a series of bow tying. We all know how to tie a bow.
Let me show you this cute little hair bow...
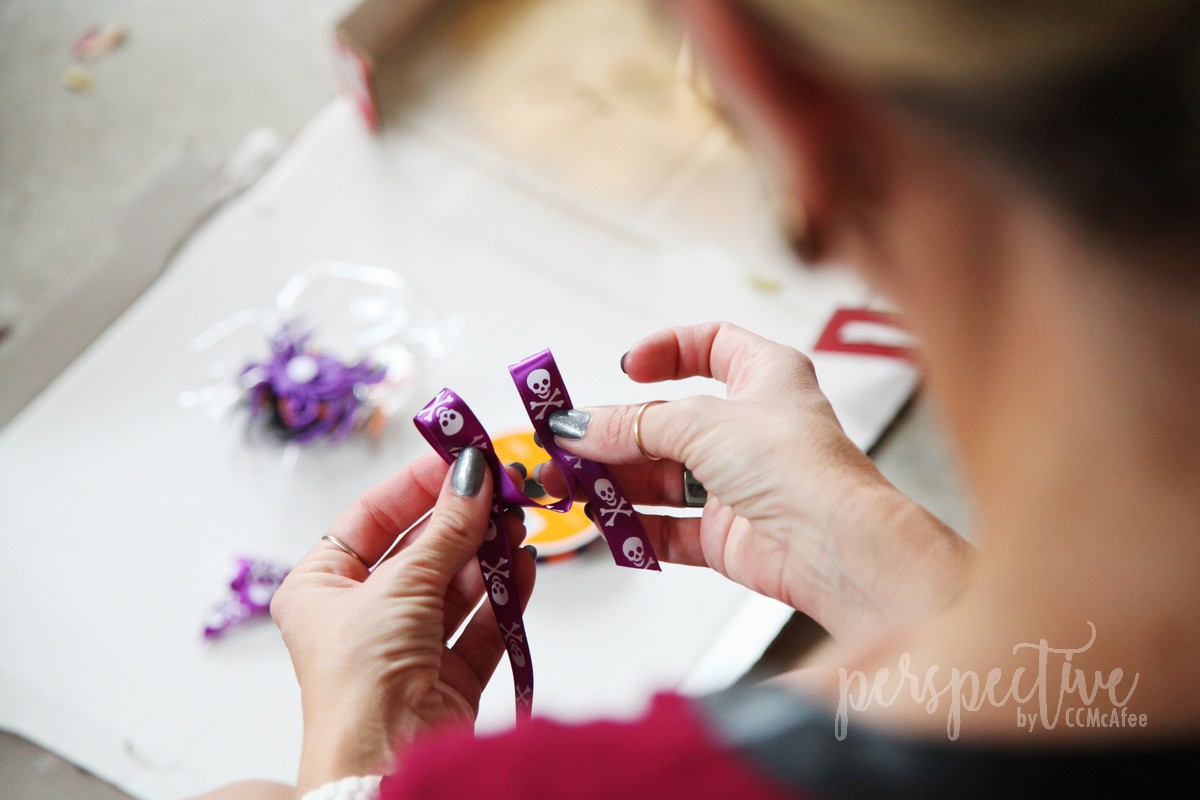
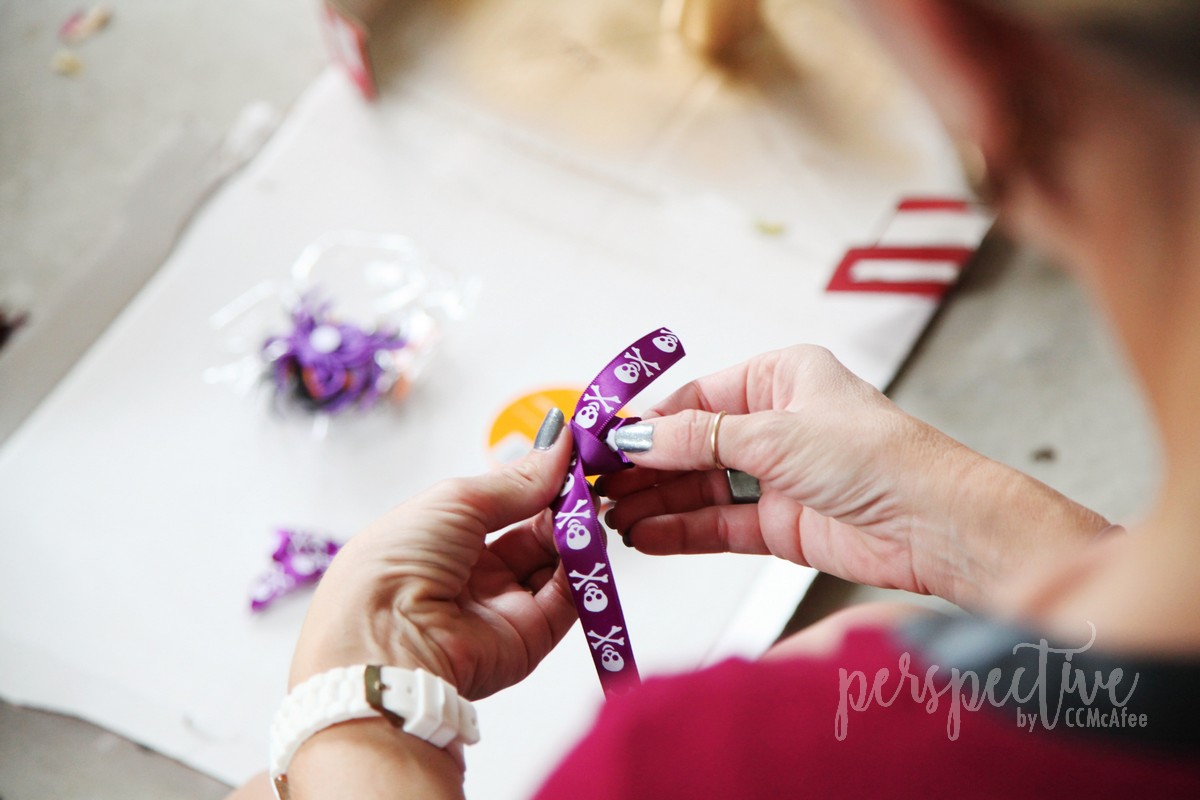
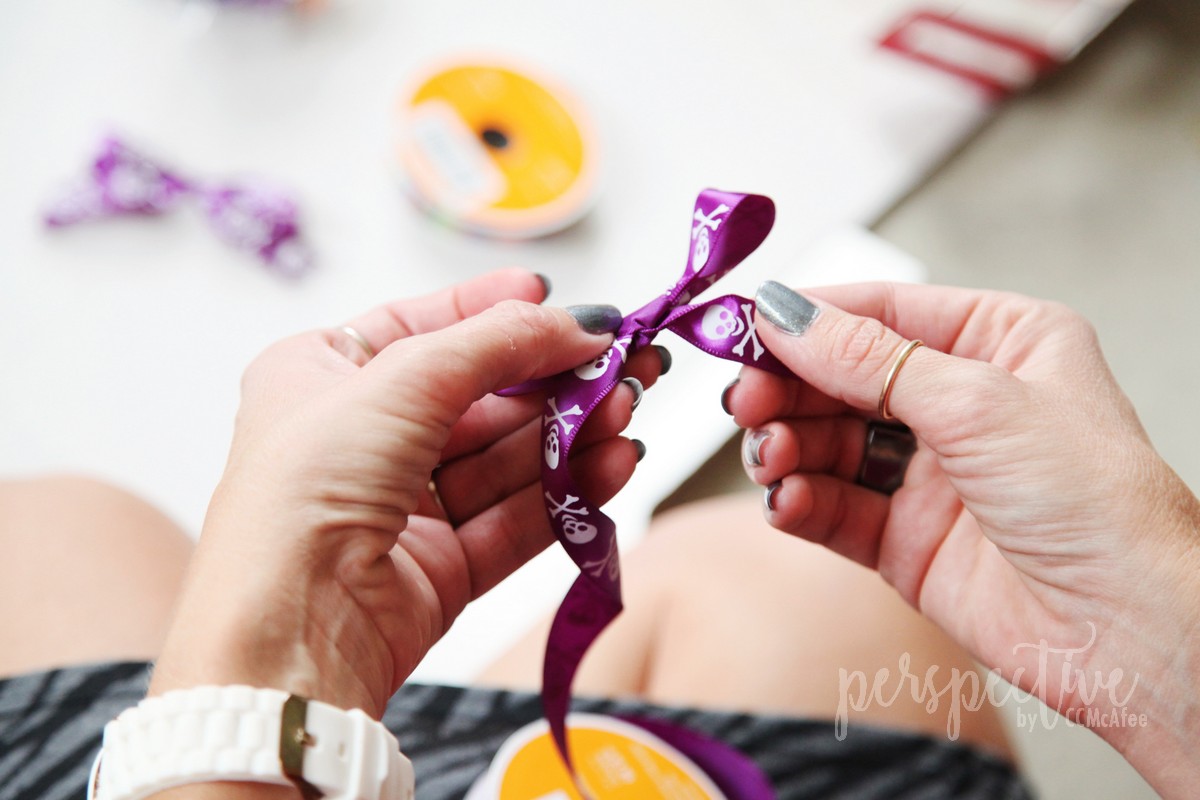
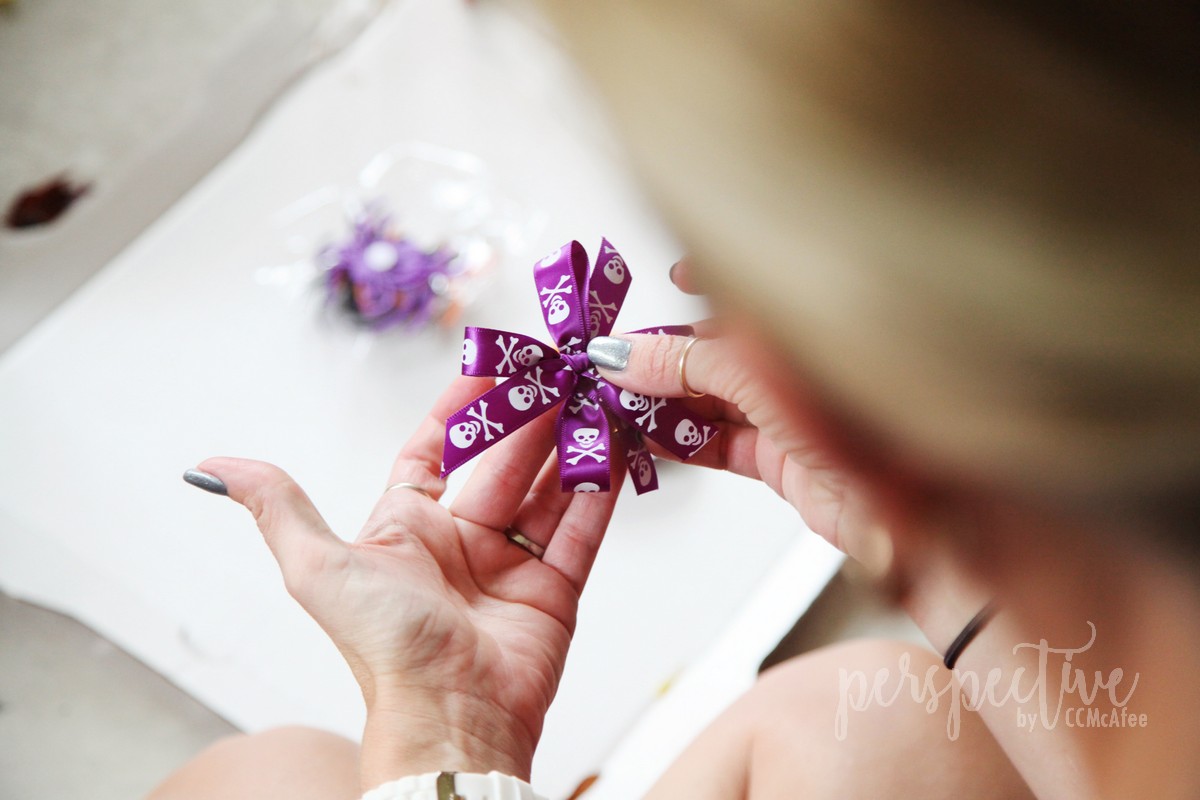
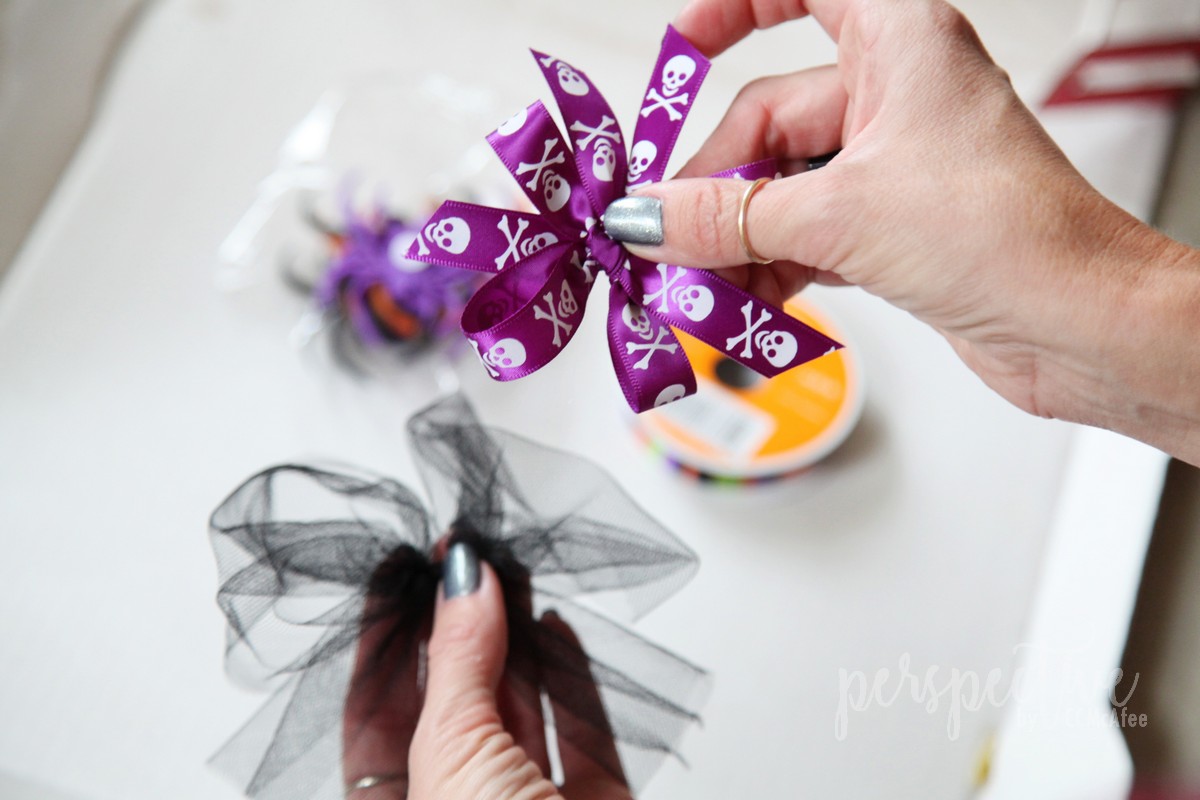
First make 2 small traditional bows with half inch ribbon of your choice.
You'll need to twist the one end and pull so it stays facing out.
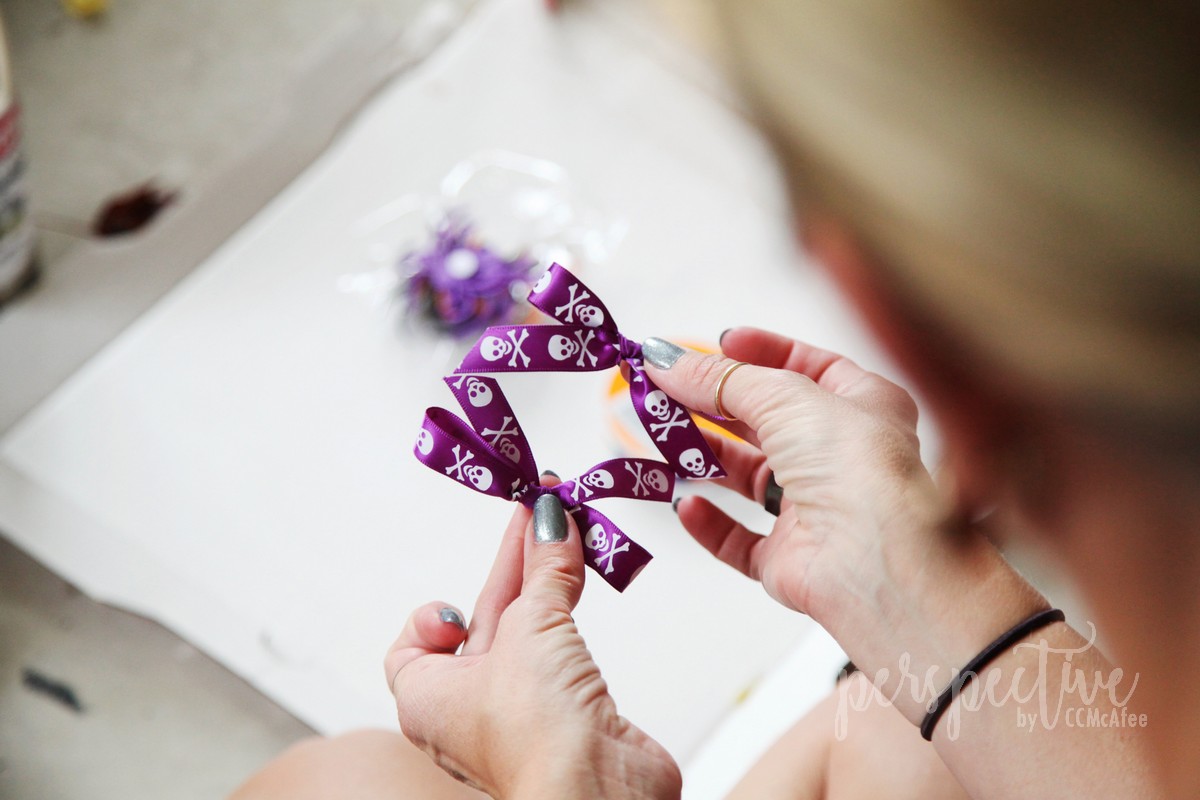
Now you have 2 bows.
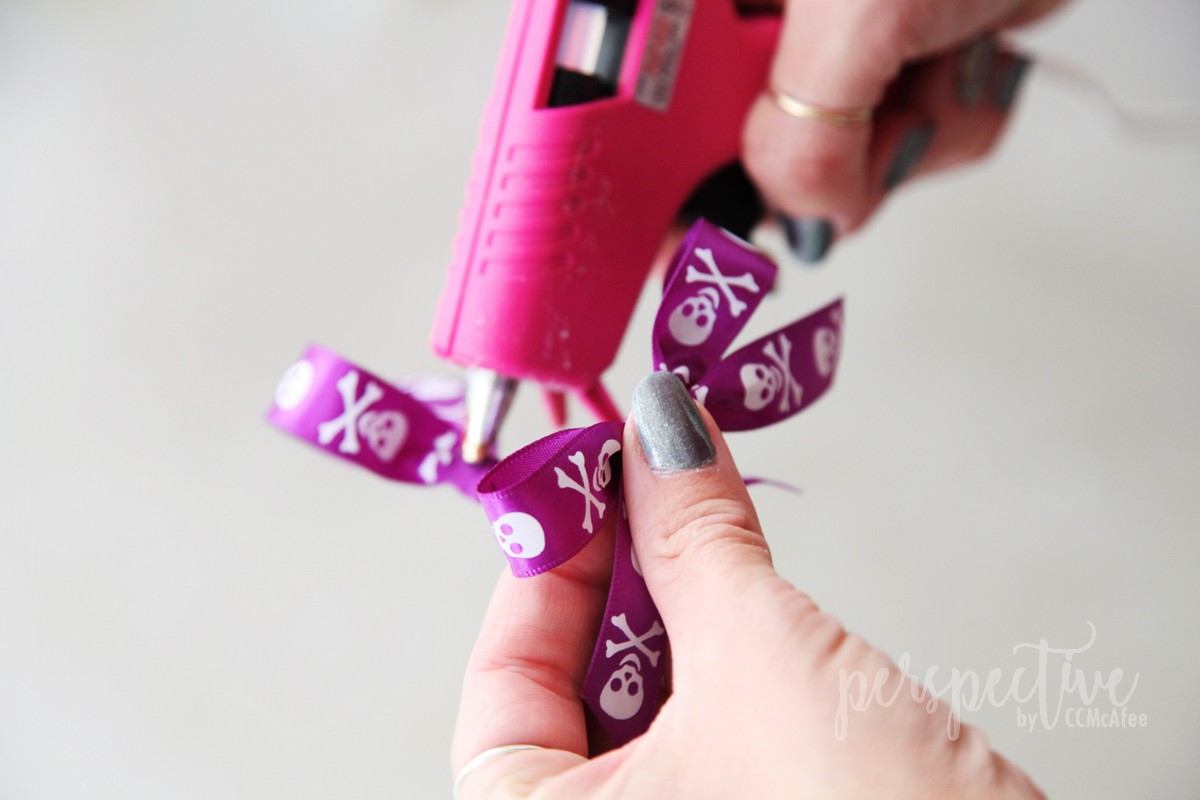
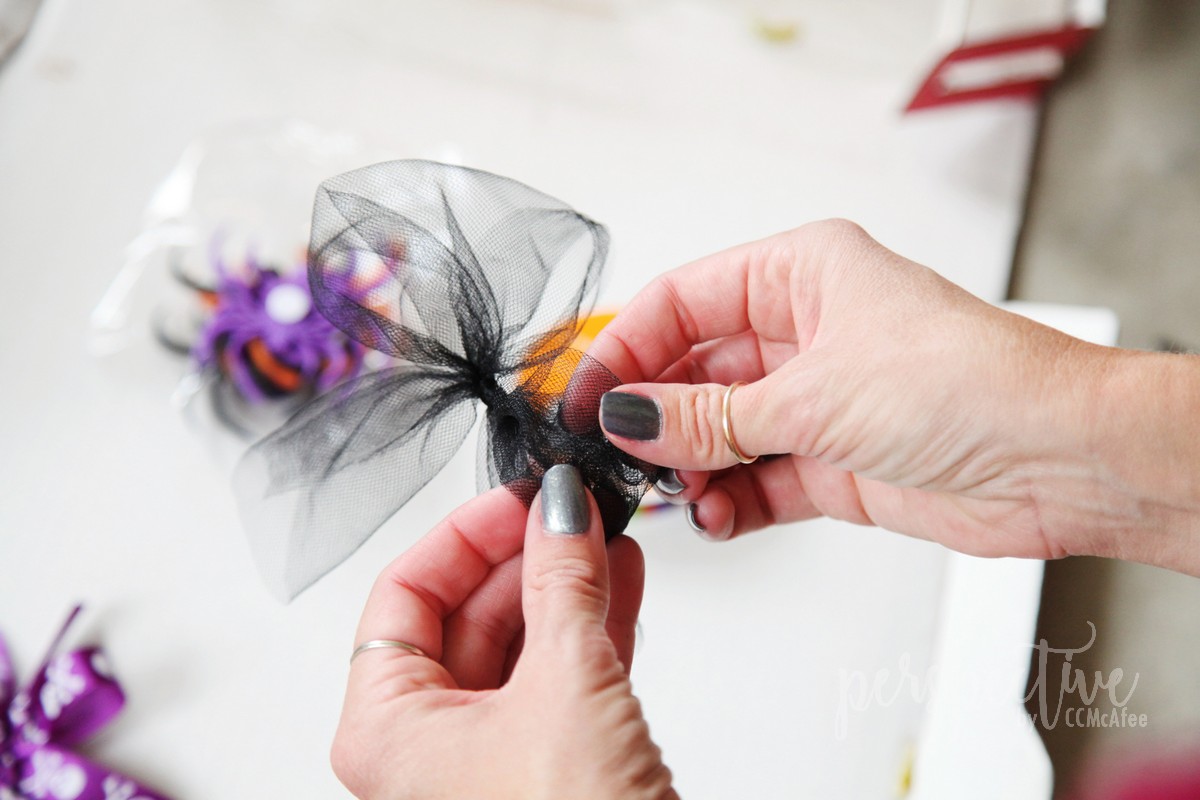
We are going to connect them in the center with a dot of hot glue. Make an x with them.
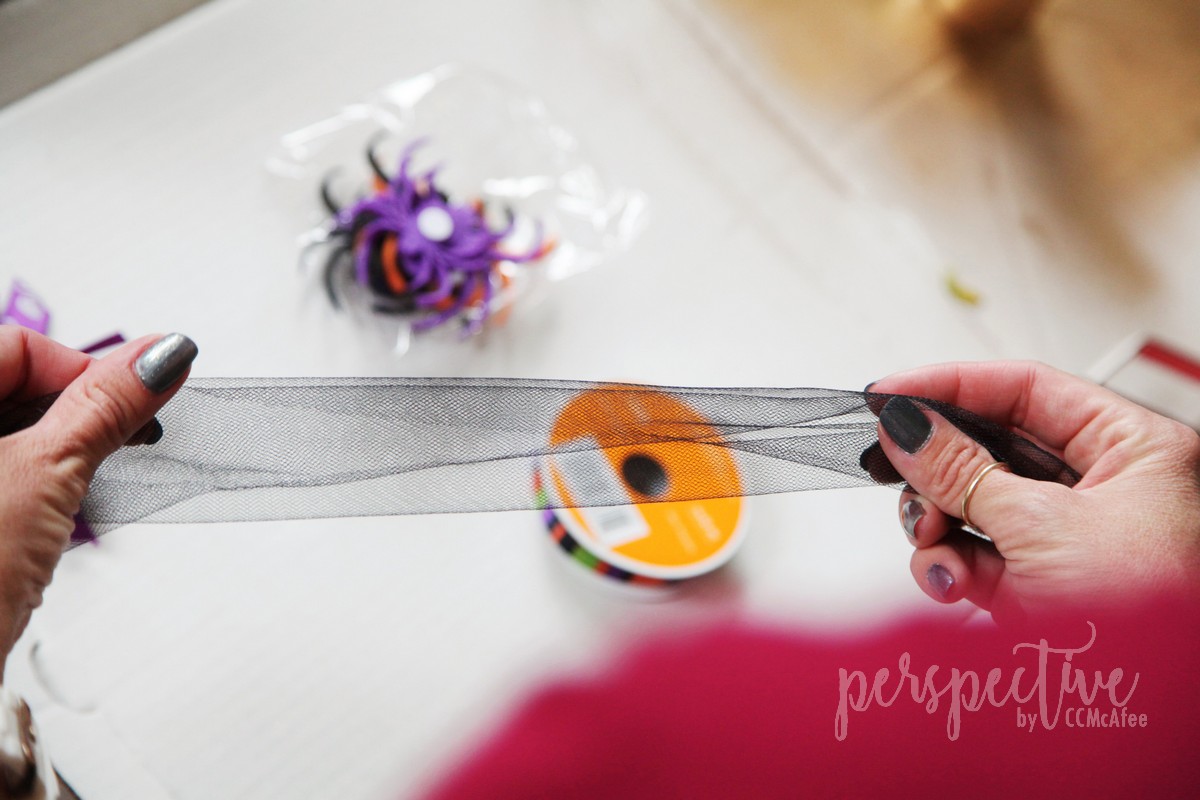
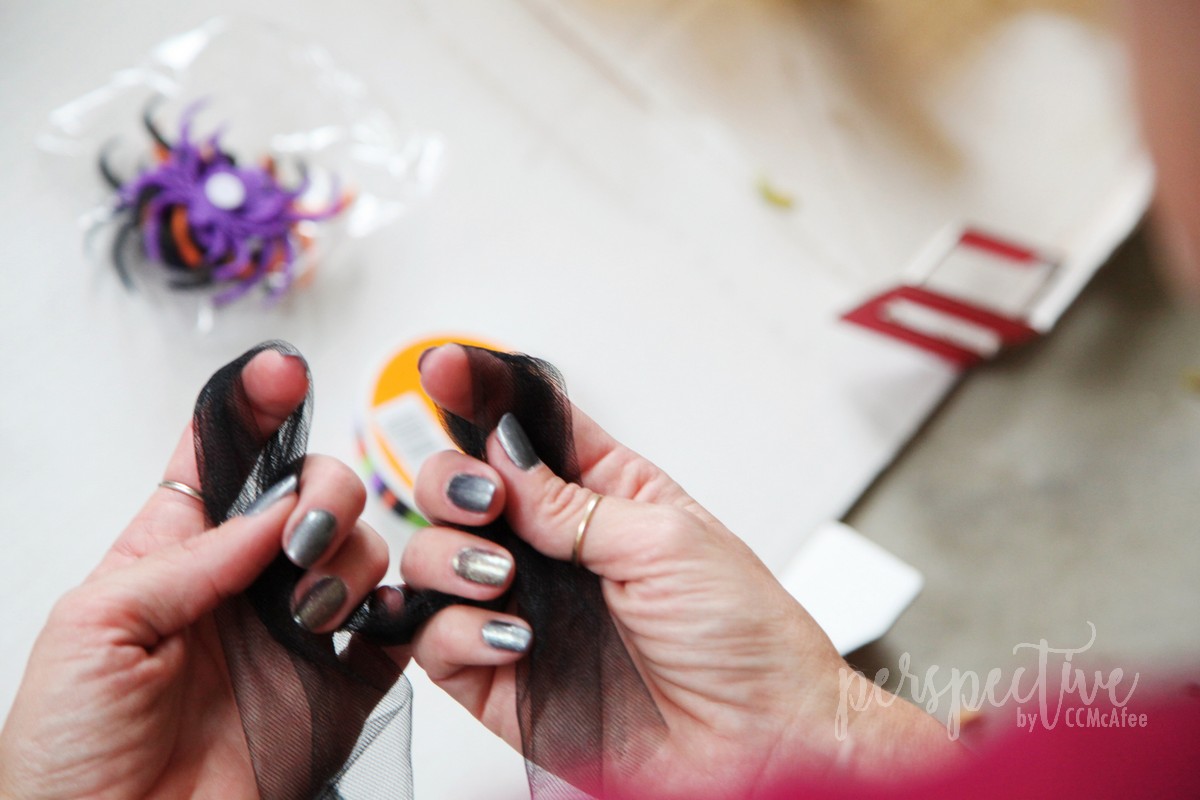
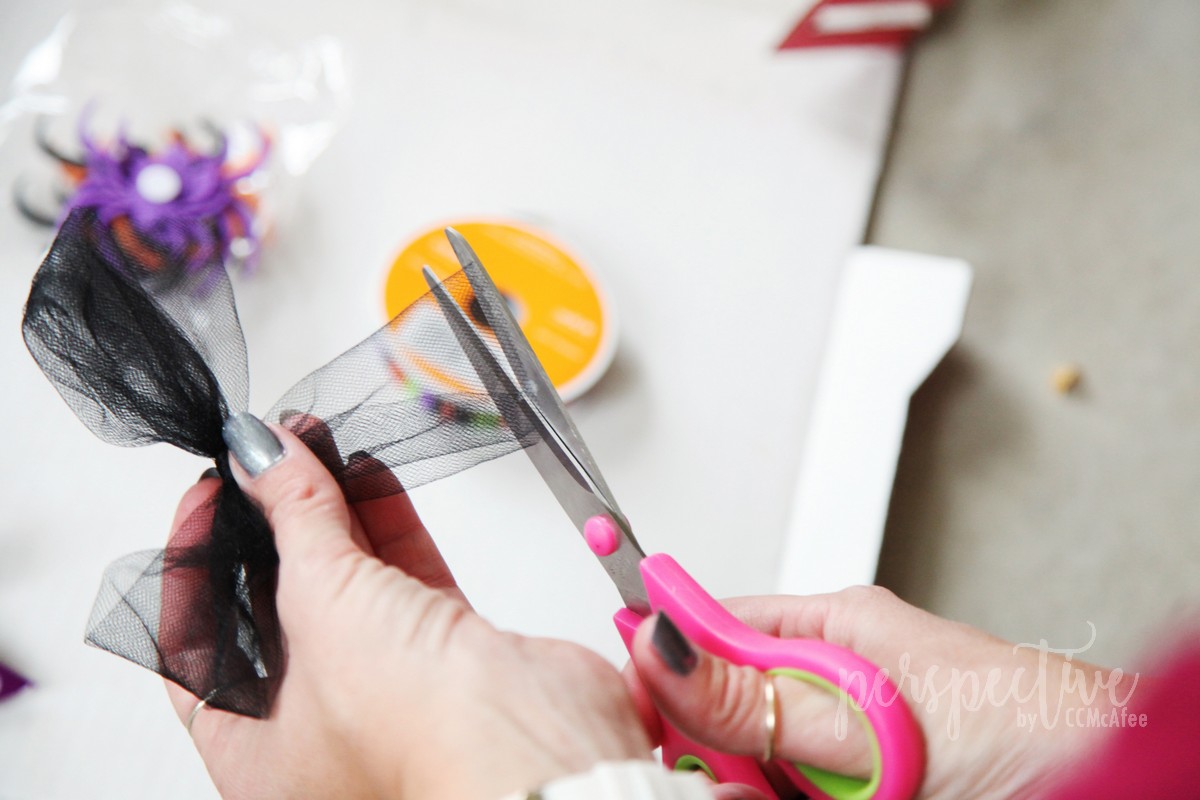
Now do the same thing with some tulle.
Did you know you can get spools of tulle? Love working with it! I only have to cut length
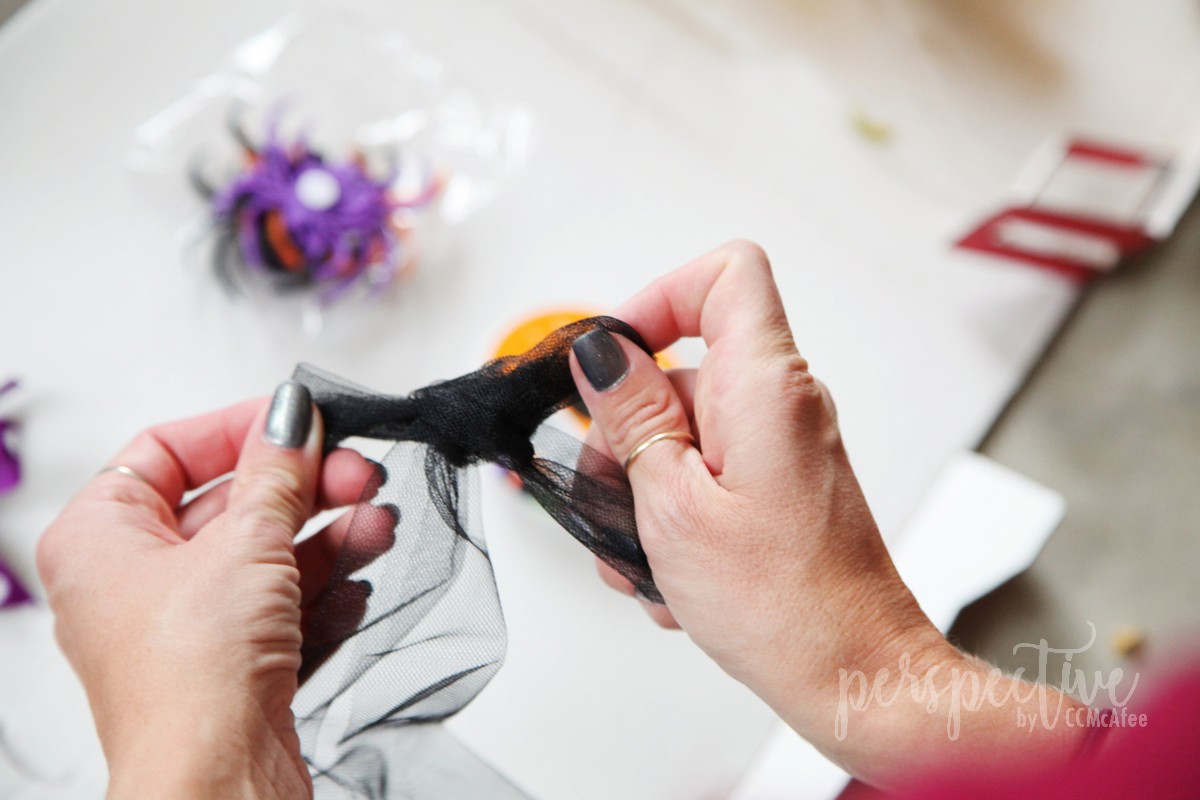
Fluff out the ends of the bow.
You'll do the same thing. Cross them and glue them at the center.
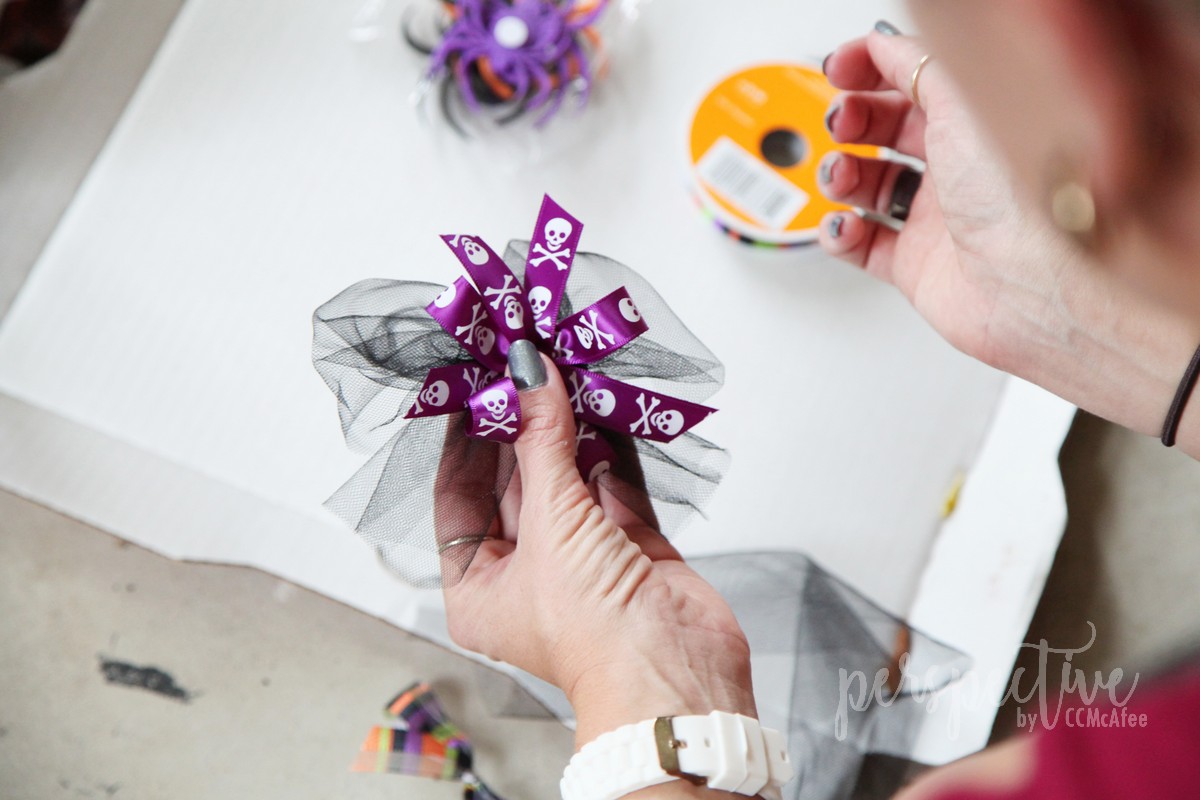
Now we just layer the ribbon bow on top of the tulle bow.
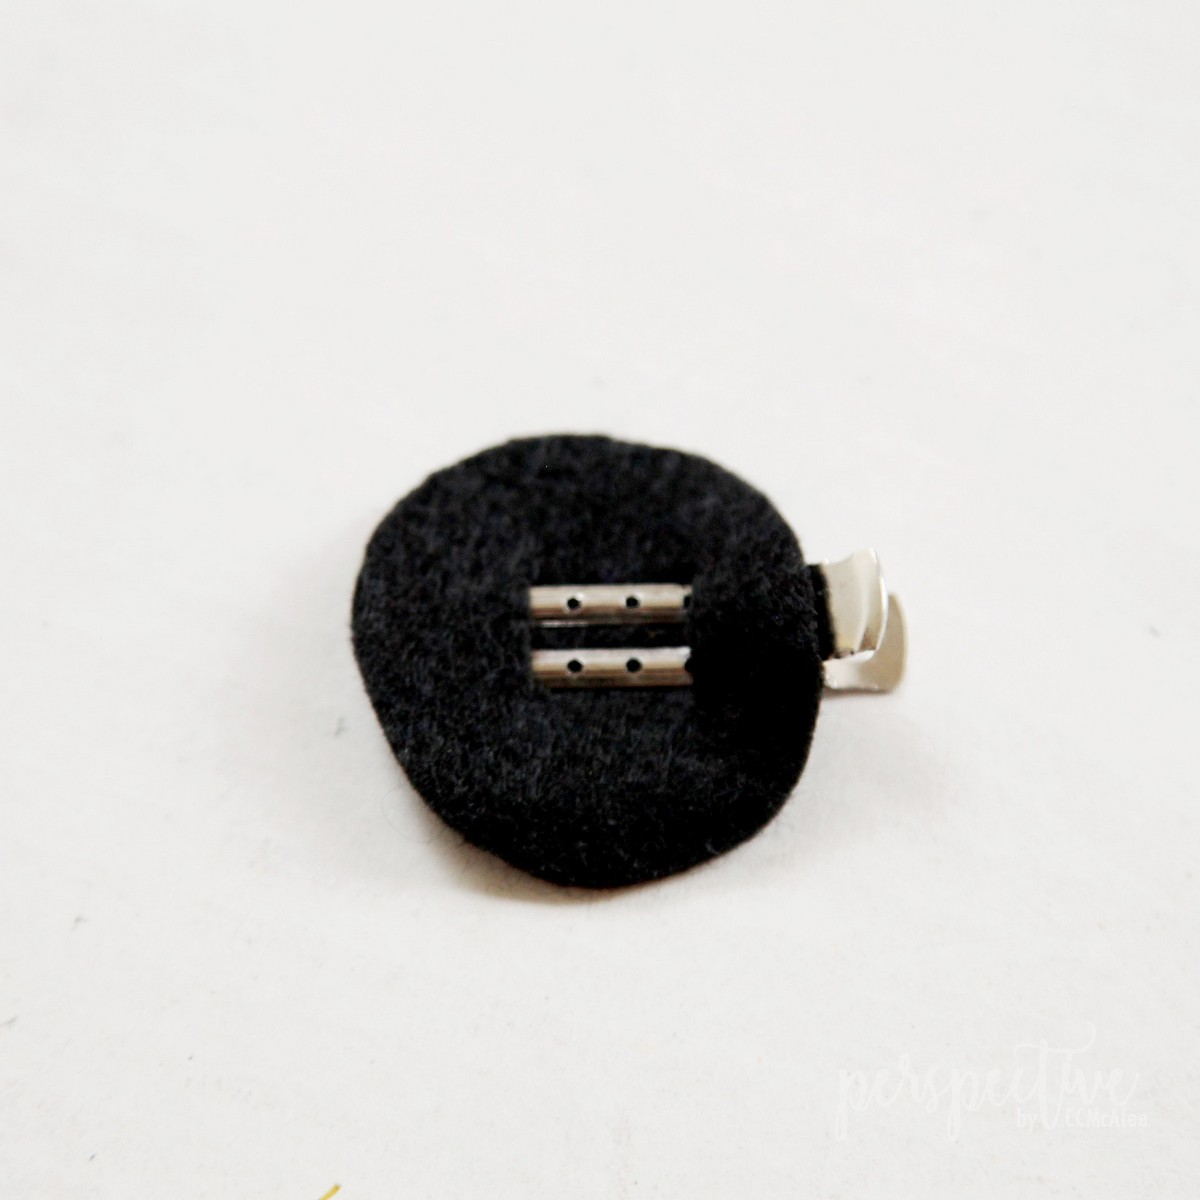
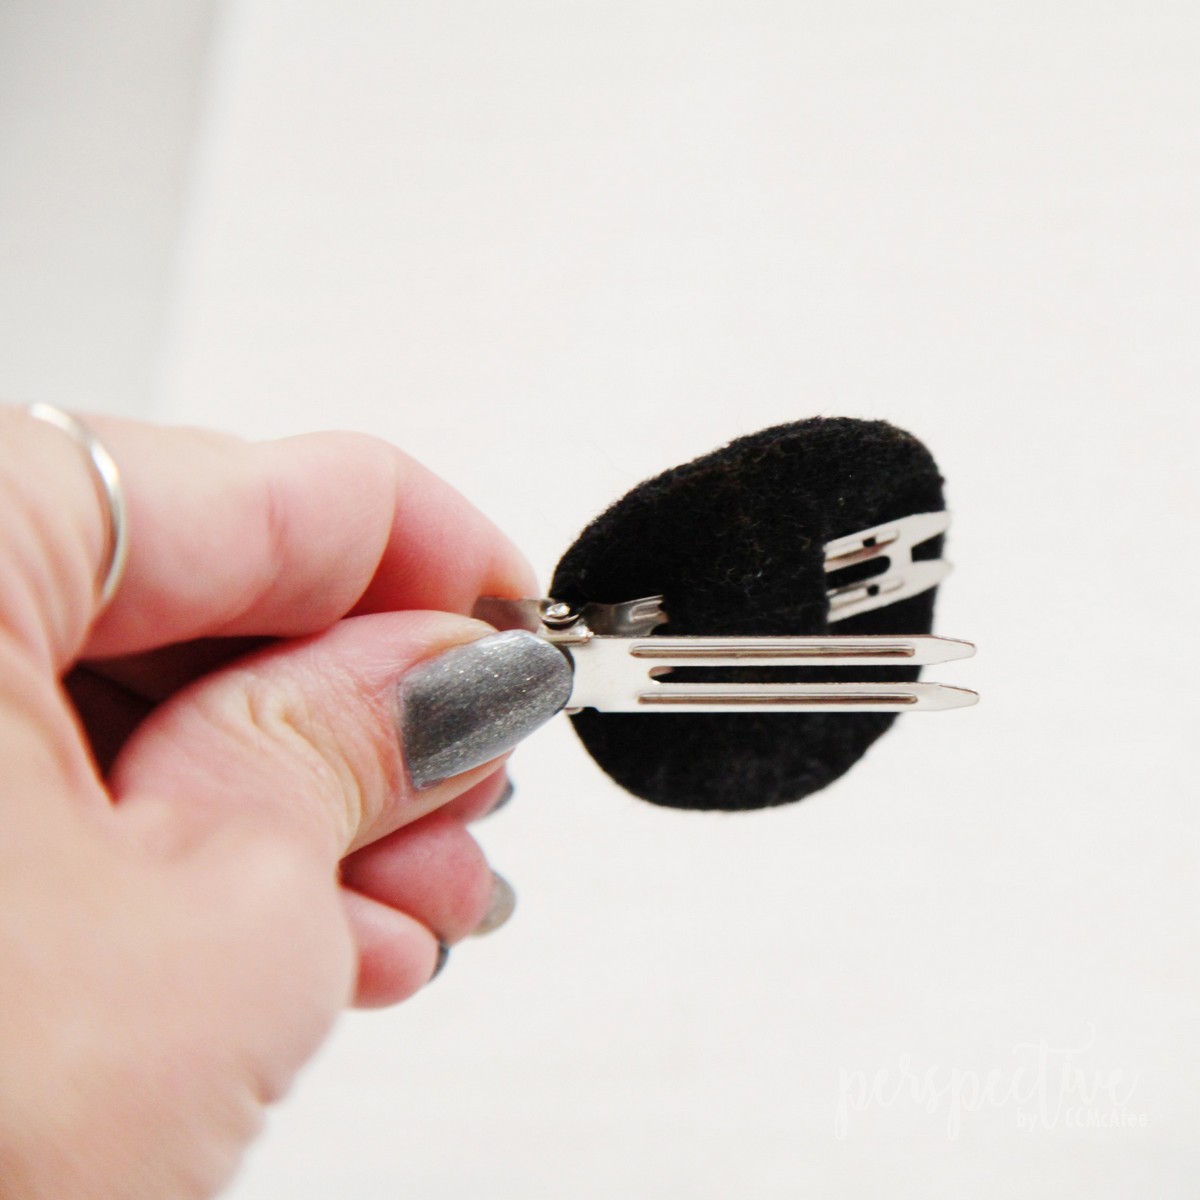
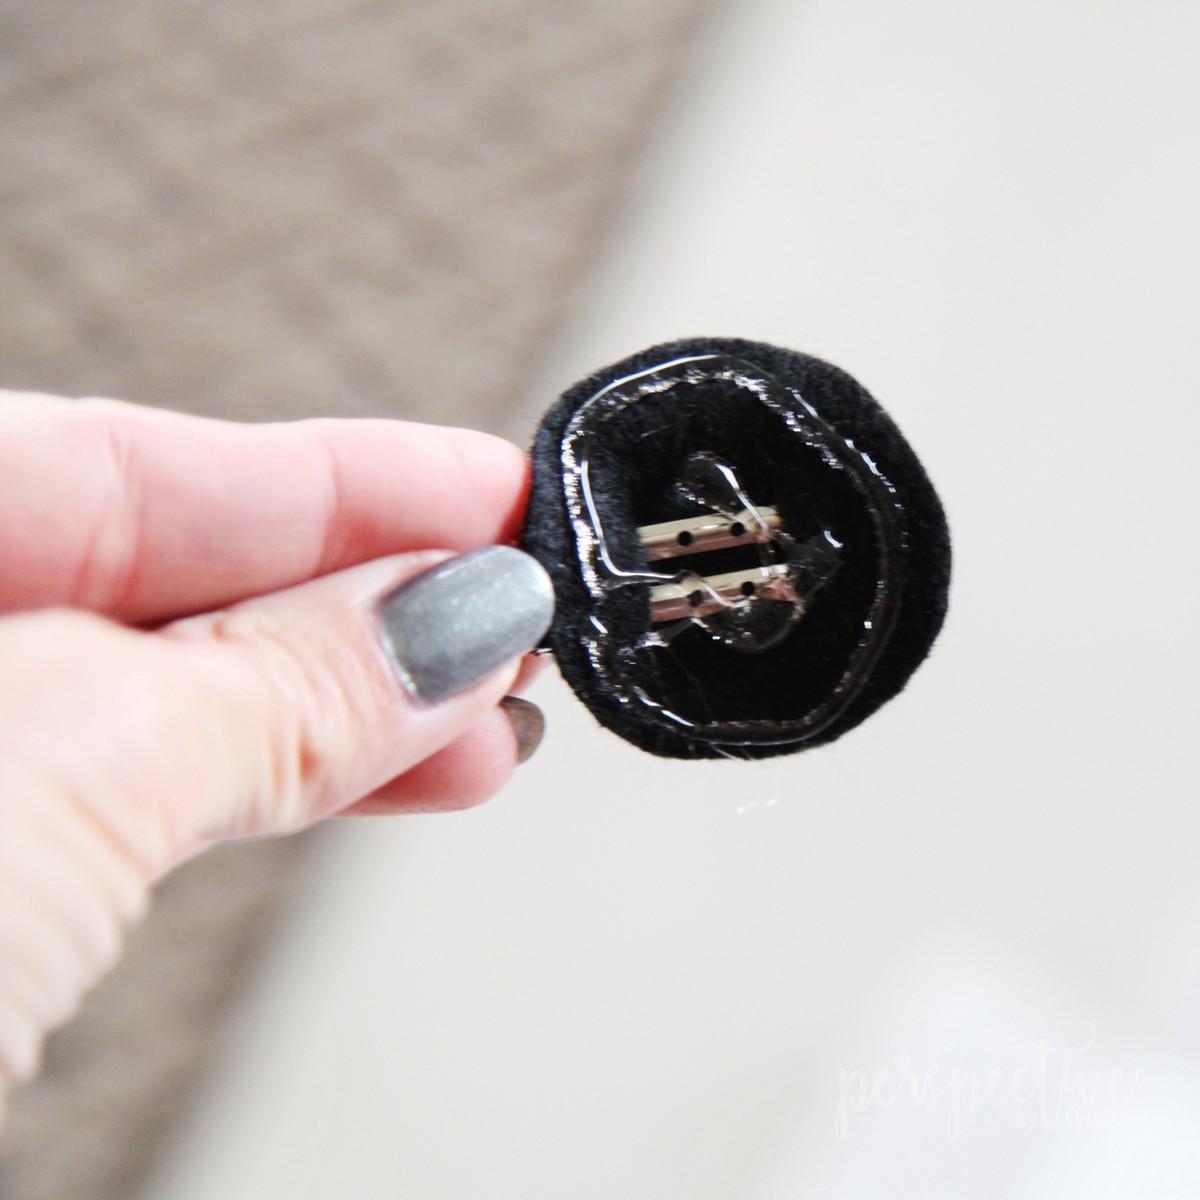
Now we are ready to attach a clip to the back. For this part I cut out a circle from felt, cut slits in it, then put my clip through.
I like to put my hot glue on after this is all in place, then attach it to my bow.
I finished off the center with a sparkle gem, just glued in with hot glue.
What do you think? Totally doable right? You may even see me sporting a festive bobby pin this month. I'm not afraid to have some festive in my hair!
